A used Volvo excavator part can look clean on the outside but hide serious issues. Cracks, wrong part numbers, or worn-out inner pieces may not show up with a quick look. You need to avoid costly delays and unsafe fixes on your work site.
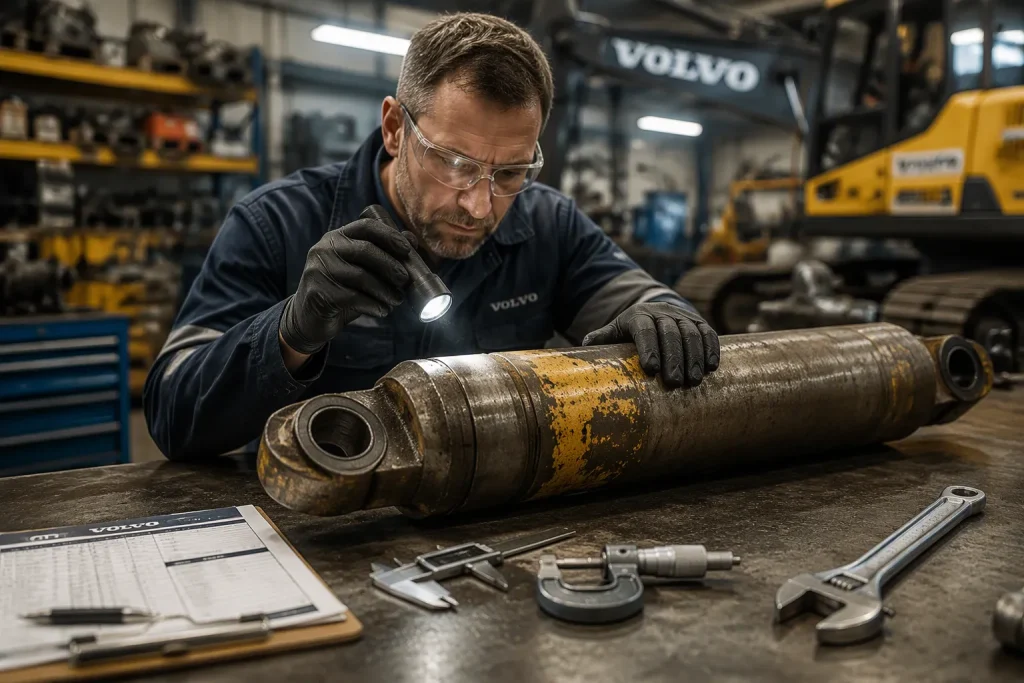
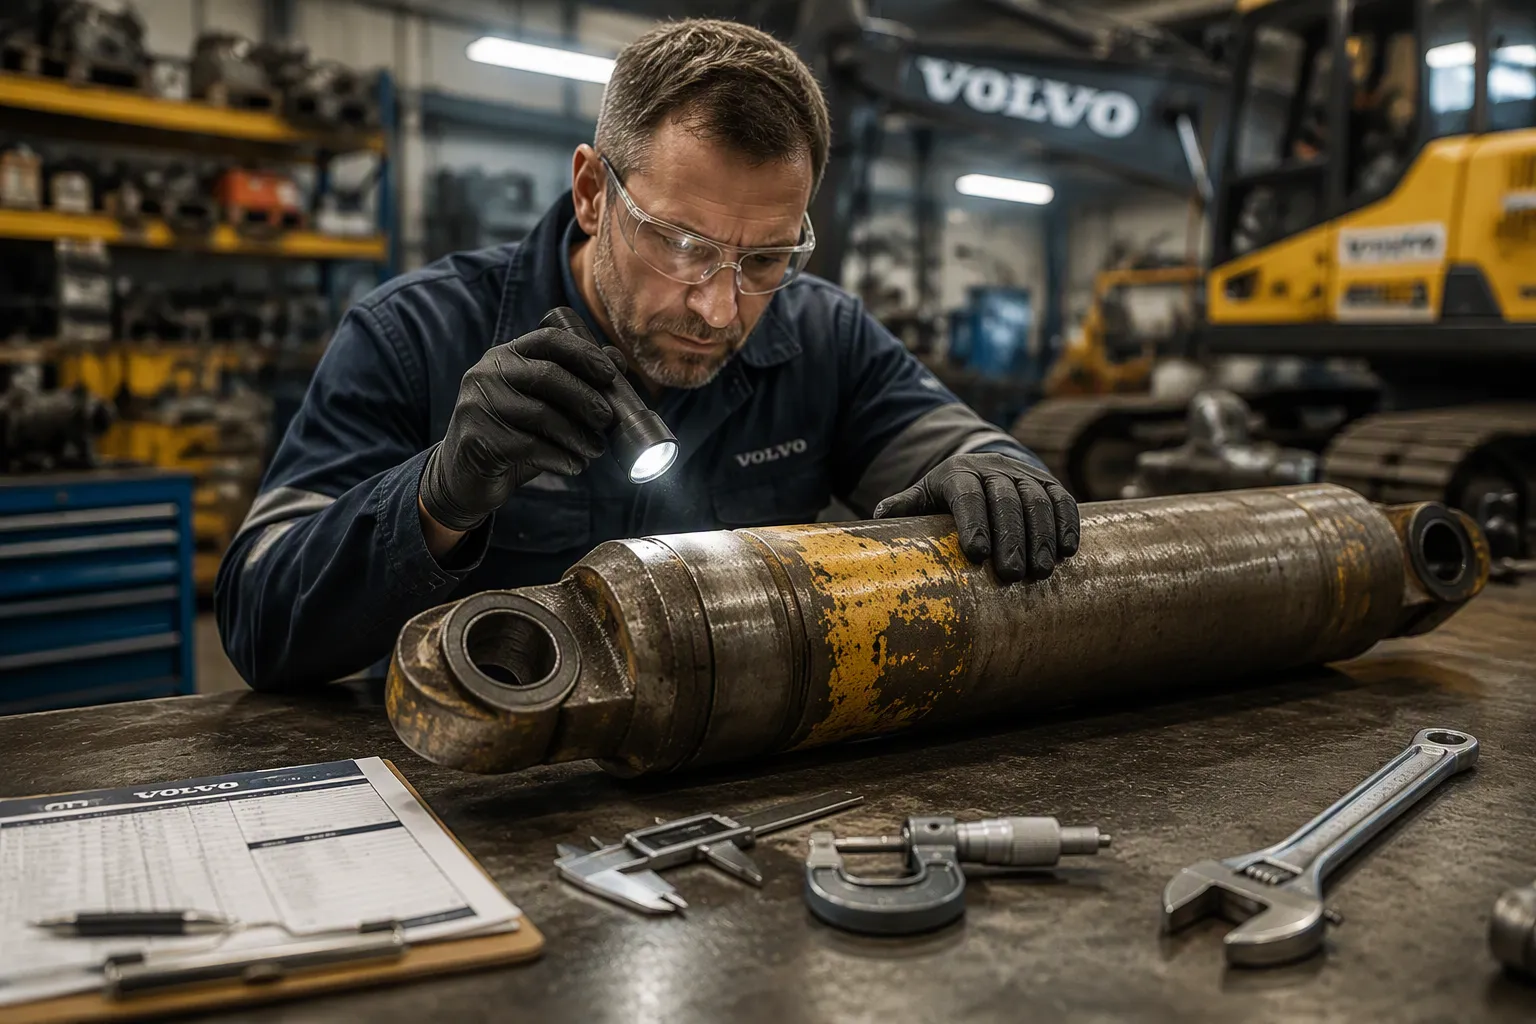
Inspecting a used Volvo excavator component requires more than a clean appearance. Identify the item, review available history and determine which condition checks are appropriate before comparing the total purchase and repair cost.
This guide focuses on second-hand components. Some checks apply only while a part remains installed in a machine; others require a qualified workshop or test bench. Machine-level observations do not automatically prove the condition of a loose component.
Key Takeaways
Always check the seller’s papers and maintenance records before you purchase.
Check the bottom and frame for damage, cracks, or old fixes.
Use qualified inspection and component-appropriate testing to investigate internal condition; a single fluid sample or demonstration cannot rule out every defect.
Figure out how much repairs will cost, and decide on the highest price you are willing to pay before you start negotiating.
Pause a purchase when compatibility, condition or a safety-critical finding remains unresolved. A discount cannot establish serviceability.
Verify the Seller and Service History Before Buying
Identify the legal seller, the item being offered and any documented source machine. Request available service and repair records, while recognizing that incomplete history increases uncertainty rather than proving a particular fault.
Confirm Ownership, Hours, and Maintenance Records
Request an itemized invoice and evidence supporting the seller’s right to sell the component. Source-machine records may help establish traceability. Do not use tax status as proof of ownership or apply whole-machine documentation requirements indiscriminately to loose parts.
Recorded hours provide context only when they can be related to the actual component. Repairs, replacements, operating conditions and missing records can make the source machine’s meter a poor measure of remaining component life.
There is no universal service-life threshold for all Volvo excavator components. Use applicable inspection limits and actual condition evidence; the table below identifies useful review areas rather than predicted hours.
Component | Condition evidence to request | Key Wear Factors |
|---|---|---|
Engine | Service records and applicable diagnostic results | Piston/ring wear, carbon buildup from idling, reduced compression |
Hydraulic System | Component identification and relevant bench or machine test report | Fluid contamination, particulate wear, need for regular oil/filter changes |
Undercarriage | Measurements against model-specific wear limits | Track/roller/sprocket wear, abrasive environments shorten life |
Structural (boom, arm, frame) | Repair history and qualified structural assessment | Load history, prior repairs and identified damage; remaining fatigue life cannot be read from hours alone |
Service records, fluid-analysis trends and repair reports can support an assessment. Check that they identify the relevant machine or component and dates. A digital signature or photograph alone does not prove complete maintenance or present serviceability.
Verify Genuine Volvo Markings and Model Fit
You must confirm that the part actually fits your specific Volvo excavator model. Give the full machine model, the serial number, a part description, and the original OEM part number if you have it. Parts experts use these details to check compatibility before shipping.
Record tags, stamped or cast numbers, mounting interfaces and relevant measurements. Clarify whether a number identifies a casting, assembly or service part. Investigate discrepancies and documented supersessions rather than treating every missing mark as automatic proof of incompatibility.
Inspect Volvo Excavator Second Hand Parts for Wear
Wear, impact damage, corrosion and alignment problems can affect different surfaces. Record what is visible without assuming that every internal defect has an external sign or that a wear pattern has only one cause.
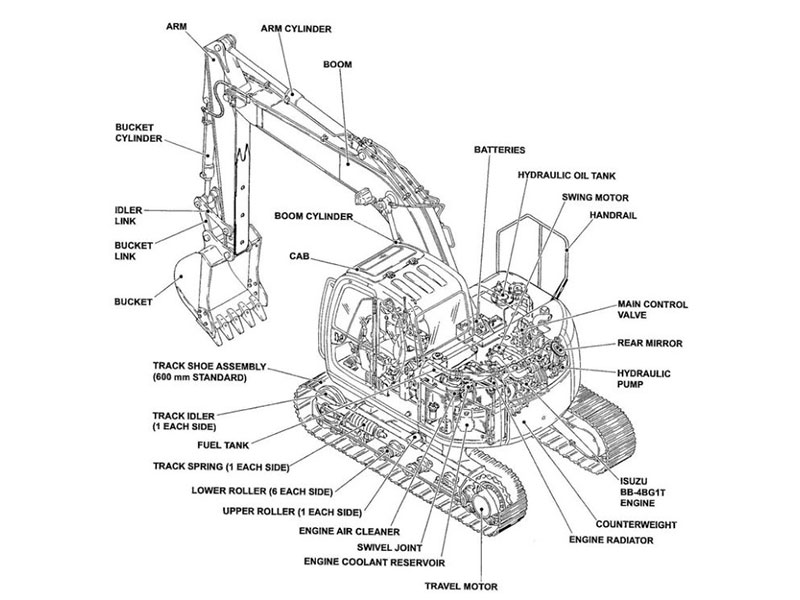
Inspect the Undercarriage, Tracks, Rollers, and Bushings
Inspect accessible tracks, rollers, sprockets and bushings for damage, abnormal wear and leakage. Have measurements compared with the applicable component limits. Track-adjuster position or a sharp-looking sprocket alone is not a complete diagnosis.
Do not use a hand-feel test near track pinch points. Park and isolate the machine using the applicable procedure; qualified personnel should use the specified measuring tools and reference dimensions.
A documented undercarriage assessment should address:
Track pitch and other specified dimensions using the prescribed method
External bushing wear against the applicable limits
Tension and adjuster condition using the machine-specific procedure
Visible cracking, damage and abnormal link wear
Correct track configuration and link count against the parts documentation
Abnormal tracking can have several mechanical or hydraulic causes. It should prompt diagnosis rather than a single assumed cause or a judgment based solely on service hours.
Check the Boom, Frame, Hoses, and Bucket Linkage
Structural damage on the boom and stick creates serious safety risks. Look for cracks, rust, re-welds, fresh paint, or old repairs. Signs of prior repair work include:
Non-original paint patches covering repair areas
Grinding marks that do not match factory finishes
Weld bead shapes with uneven ripples or mixed width
Tack weld leftovers from unfinished repairs
Visual weld appearance cannot establish structural integrity. Do not apply a universal weld-height or discoloration threshold. Request the repair procedure, relevant inspection records and a qualified assessment for the actual structure.
Inspect buckets, linkage, hoses and fittings for visible damage. If a protective structure is involved, any modification or suspected damage requires assessment under the applicable manufacturer guidance; a visual check cannot certify protective performance.
Measure linkage clearances against the applicable limits and inspect connected parts. Do not assume all compact-excavator components wear faster or that loose joints alone explain reduced hydraulic performance.
Write down every finding during your inspection. Take photos of suspicious areas and note measurements. This proof becomes useful when you negotiate price or decide to walk away. Wear and tear is normal on used equipment, but knowing the difference between okay wear and serious damage protects your money.
Test Engine, Hydraulics, and Electrical Components
Internal engine, hydraulic and electrical faults require appropriate diagnosis. The right test depends on whether the component is installed, isolated or on a suitable test bench.
Use Oil Sampling to Detect Internal Wear
Laboratory fluid analysis can provide evidence about contamination, fluid condition and some wear processes. It does not directly reveal every internal defect, predict a guaranteed failure date or replace other diagnostics. Obtain an actual quotation for sampling and analysis.
Use the specified sampling point and safe procedure for the relevant circuit. Record the fluid type, service history and sampling conditions. The following examples require interpretation by the laboratory and technician; they are not universal pass/fail limits.
Wear Metal | Possible context to investigate | Interpretation limits |
|---|---|---|
Silicon (Si) | Contamination, fluid formulation or other sources | Assess with the fluid baseline, circuit and laboratory guidance; no universal ppm cutoff applies |
Iron (Fe) | Ferrous component wear or contamination | Evaluate trends and other test evidence; one reading cannot identify a specific failed part |
Copper (Cu) | Copper-containing components, additives or other sources | Interpret against the circuit, fluid and laboratory findings rather than assuming bearing failure |
Chromium (Cr) | Wear of chromium-containing materials or other sources | Requires component-specific context and supporting diagnostics |
Aluminum (Al) | Aluminum-containing components, contamination or other sources | Does not identify a piston, turbocharger or overheating fault by itself |
Lead (Pb) & Tin (Sn) | Material-specific wear or other sources | Interpret only with knowledge of the actual materials, oil and system |
Sodium (Na) & Potassium (K) | Fluid formulation, contamination or possible coolant-related sources | Investigate with laboratory advice and other coolant-contamination evidence |
Total Base Number (TBN) | Oil’s acid-neutralizing ability | Use the applicable oil and service criteria; no single universal rejection value applies |
Compare results with appropriate baselines and prior samples where available. Trends can support investigation, but a pattern alone does not establish a complete diagnosis or guarantee future performance.
For a useful fluid-analysis record:
Identify the exact circuit, component and approved sampling point
Have trained personnel collect the sample using the specified equipment and safe method
Record fluid type, operating context, service hours and any recent oil change
Use the applicable sampling schedule and laboratory interpretation; do not assume a universal interval
Check Leaks, Exhaust Smoke, and Wiring Connections
If an installed-machine demonstration is appropriate, a qualified operator should follow the actual starting procedure. Record hard starting, warnings, abnormal noise or poor response without applying a universal cranking-time threshold.
Check fluid level and condition only by the applicable procedure. Fluid color or level alone does not identify a fault; do not touch a tank to judge temperature. Use the specified instruments and limits where required.
Inspect visible hoses, lines and connections from a safe position for damage or leakage. Stop and isolate equipment before close inspection. Never use a hand to locate a pressurized leak; visible leakage requires diagnosis rather than an assumed seal failure.
Abnormal exhaust may justify further diagnosis, but color and smell alone cannot identify a head-gasket, injector or piston-ring fault. Consider operating conditions and use the relevant diagnostic process.
Inspect accessible wiring, connectors and terminals under the appropriate electrical isolation procedure. Damaged insulation, corrosion and loose connections need assessment, but appearance alone does not establish the condition of a control module or circuit.
Document observations and unresolved questions. An inspection narrows uncertainty; it does not provide a complete guarantee that no internal defect exists.
Arrange Component-Appropriate Functional Testing
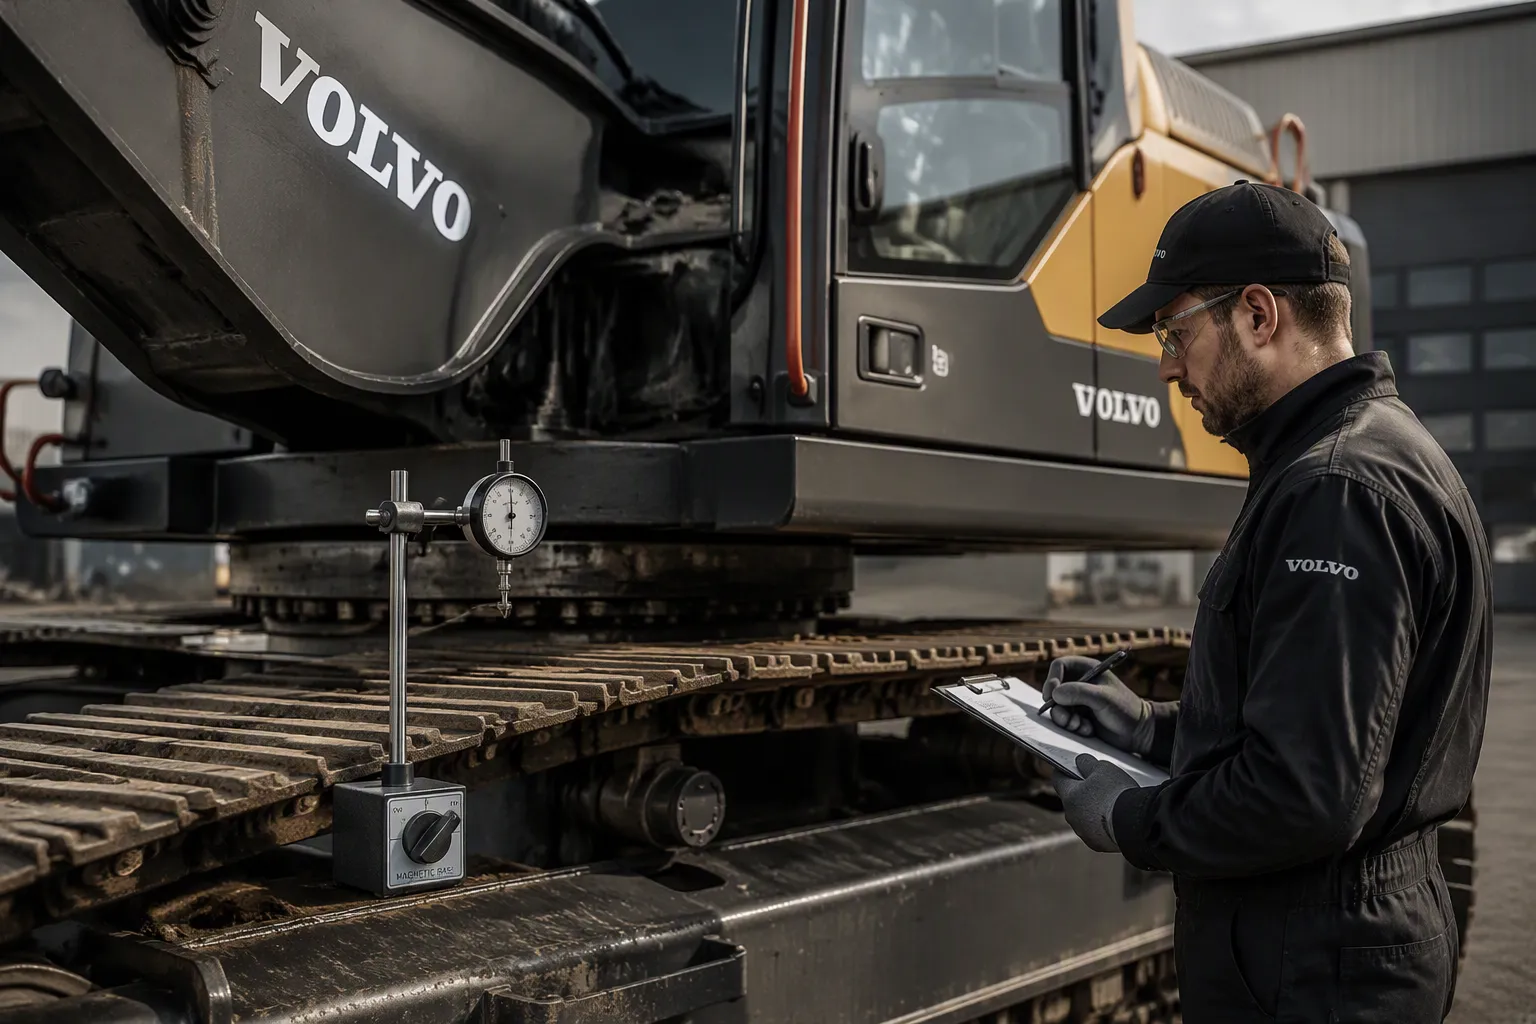
Functional testing must match the component, machine configuration and safe test procedure. Do not work a machine hard or overload it to expose a suspected defect. A loose component may require a suitable test bench rather than a machine demonstration.
Verify Tracking, Slew Ring, and Joystick Response
If travel testing is relevant, use the applicable procedure, safe site and qualified operator. The table below identifies evidence to record rather than universal acceptable deviations.
Test Condition | Evidence and acceptance basis |
|---|---|
Operating context | Record surface, configuration and conditions specified by the test procedure |
Travel performance | Compare measured results with the applicable machine-specific service criteria |
Unexpected drift requires diagnosis. Track wear, drive condition, controls and test conditions may all be relevant; an invented distance or percentage limit cannot establish acceptability.
Record abnormal swing noise, vibration or movement from a safe position during an approved demonstration. A qualified technician should determine whether further bearing, drive, brake or control checks are needed.
Slew-bearing clearance measurements require the prescribed machine-specific setup, loading and limits. Do not apply maximum tipping loads or use an improvised heavy lift. Have qualified personnel perform any required measurement and interpret it against the actual service criteria.
Record control response, warnings and abnormal hydraulic noise using the approved test procedure. Delayed movement, heat or noise can have several causes. Use specified pressure, temperature and flow tests where appropriate rather than a universal threshold or single assumed diagnosis.
Measure Pin Play and Structural Movement Under Load
Pin and bushing clearances require the specified safe measurement setup and allowable limits. Keep personnel clear of moving linkages and suspended equipment; do not extend or load the boom merely to watch worn joints at close range.
Evaluate final-drive condition with the applicable diagnostic procedure. Do not drive against a solid obstacle or use an improvised slope test. Hydraulic and mechanical faults require separate investigation.
Suspected structural damage should be assessed before operation or loading. Do not deliberately load a potentially cracked boom to see whether a crack opens. Qualified inspection may require appropriate non-destructive examination.
Keep clear of pressurized lines and moving components during any authorized test. Stop and isolate the machine before close investigation of suspected leakage. Visible wetness does not identify every source of lost pressure or poor response.
Record intermittent faults and diagnostic codes for qualified investigation. A fuse, engine speed check or fluid observation alone cannot confirm or exclude catastrophic damage. Never overload the system as a diagnostic shortcut.
Retain the test method, actual results, applicable acceptance criteria and inspector’s conclusions. Note any limits caused by an incomplete demonstration or unavailable test equipment.
Evaluate Repair Costs and Negotiate With Wear Findings
Use the documented condition findings to compare realistic purchase options. Obtain actual repair estimates and account for unresolved risk rather than treating every observation as a fixed price deduction.
Compare Replacement Parts and Downtime Costs
Request quotations for the diagnosed work, required parts, labor, testing and delivery. Include installation, consumables and downtime assumptions where relevant. The estimate remains conditional on the actual repair scope.
Undercarriage costs vary by machine, component scope and condition. Avoid a universal replacement price, service interval or share of lifetime maintenance costs; use current quotations for the actual assembly.
Separate confirmed repairs from potential additional work. Document the basis of each estimate so that a seller and buyer can discuss the same scope.
Compare the total delivered and installed cost of the used option with suitable alternatives. Include inspection, reconditioning, warranty differences and uncertainty; an asking price alone is not enough for the comparison.
Set a Maximum Price That Accounts for Repairs
Set a budget based on suitable alternatives, expected repair and installation costs, and the uncertainty you are prepared to accept. Subtracting a repair estimate from the seller’s asking price does not automatically produce a rational maximum offer.
Discuss documented measurements, inspection findings and quotations with the seller. Do not assume every seller has built a negotiable repair allowance into the advertised price.
Pause the purchase for unresolved structural damage, contamination, leakage or compatibility concerns. Obtain qualified assessment where needed. A lower price does not make an unverified safety-critical component serviceable.
Normal wear does not automatically disqualify a used component, but acceptable condition depends on the applicable limits and intended use. Price cannot substitute for a sound assessment.
Review the Final Inspection and Any Certification Claims
Bring the identification, records, measurements, tests and repair estimate together. List unresolved findings explicitly so that a purchasing decision is based on the available evidence and its limits.
Review Critical Findings and Deal Breakers
Compare the total expected cost with suitable alternatives. Separate confirmed findings from estimates and avoid treating an incomplete inspection as a clean bill of health.
Examples of findings that require resolution before acceptance include:
Suspected protective-structure damage or unauthorized modification requiring the applicable specialist assessment
Undercarriage measurements outside the applicable limits or unresolved damage
Unresolved part identification, configuration differences or missing compatibility evidence
Do not accept an item as serviceable until the relevant safety and compatibility questions are resolved.
Assess Inspection and Certification Reports
If a seller claims a certification or inspection program, request the actual report, issuer, date, scope and applicable acceptance criteria. Do not assume a whole-machine program covers a separately sold component.
Compare the report with the actual item identification and available measurements. Investigate discrepancies with qualified personnel rather than treating either a certificate or an unqualified measurement as decisive.
An inspection claim is useful only within its documented scope. It does not guarantee remaining service life, OEM origin or compatibility with a different machine.
A practical process links identification, traceability, condition assessment, appropriate testing and a realistic cost comparison. The depth of each step depends on the component and the evidence available.
Finding a defect before purchase can change the repair scope or the decision to buy. Record the finding and seek the appropriate technical assessment rather than assuming a particular saving.
Pause for unresolved structural damage, major leakage, contamination or incompatible identification. Resolve the technical questions before discussing a price reduction.
Retain the final assessment and agreed condition description with the purchase documents.
FAQ
How long does a full used part inspection take?
Inspection time depends on the component, available records and testing required. Laboratory analysis or a workshop assessment may take longer than an initial viewing; obtain a specific scope and schedule.
Can I inspect a used part without running the machine?
Some visual and dimensional checks can be performed on an isolated component. Internal condition may require workshop or bench testing. A machine demonstration is relevant only where appropriate and does not replace component-specific assessment.
What tools do I need for a proper inspection?
Use the tools specified by the inspection method and only within your competence. Measuring equipment and fluid sampling require the correct setup. Avoid hand-feel tests near pinch points or improvised load tests.
How do I know if undercarriage wear is acceptable?
Compare actual measurements with the applicable component limits. Hours and visible appearance provide context but cannot establish remaining life or acceptable wear on their own.
Should I hire a professional inspector for used parts?
Qualified help is appropriate when the component, inspection method or findings exceed your expertise. Request an actual quotation, report scope and explanation of any tests that cannot be completed.
What condition issues should end the purchase immediately?
Do not accept unresolved safety-critical damage, major leakage, contamination or incompatible parts as serviceable. Seek qualified clarification where needed; a low price cannot resolve those issues.
For Volvo excavator parts sourcing, consider YNF Machinery. Provide full machine and component identification, applicable part numbers and quantities, and request supported compatibility information, an actual quotation and written warranty and return terms before ordering.