To check used Terex excavator parts, start with the part number. Check it against your machine’s model and serial number. Then look the part over closely. Have a technician run an electrical test before you buy.
This matters. A wrong or failing part can stop your excavator. It can cost more than the part itself. A mismatched connector or a weak alternator leaves you with a dead machine. Then you face a second repair bill.
Use the sequence below to organize evidence for a purchase decision. Identification, condition findings and qualified test reports answer different questions; none alone guarantees compatibility or service life.
Key Takeaways
Check the part number and serial number against your excavator before you buy.
Check for damage, rust, and burn marks when you look the parts over.
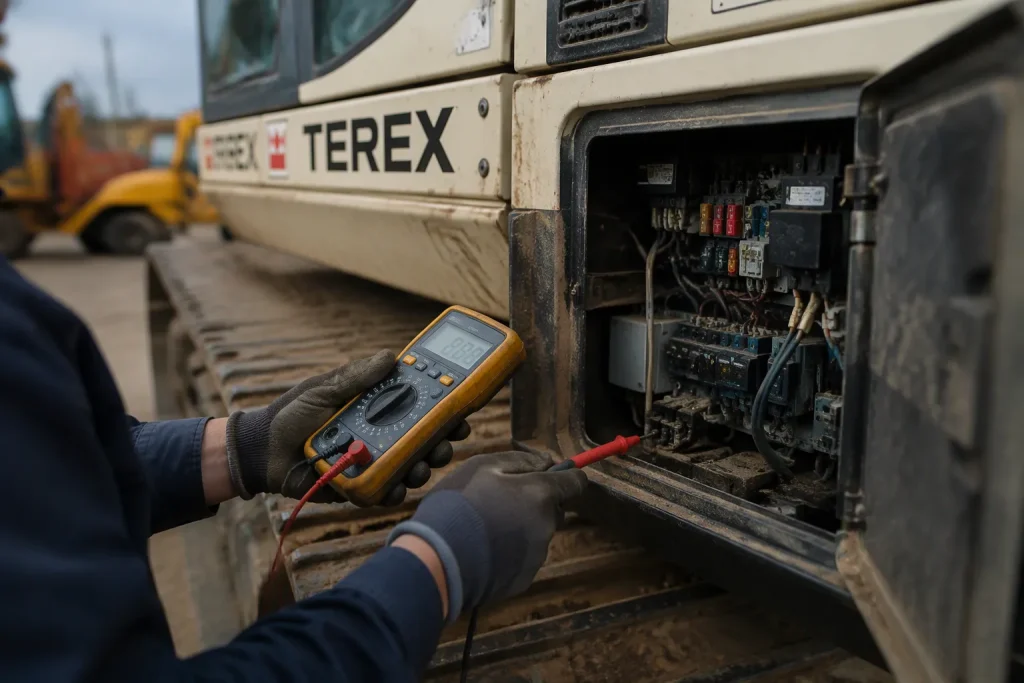
Have a trained technician check the part with a multimeter.
Have qualified personnel confirm installation requirements and supported application information before ordering.
Compare the money you save with the risk of machine downtime, and check the return terms.
Identification: Match Used Terex Excavator Parts
Find Part and Serial Numbers
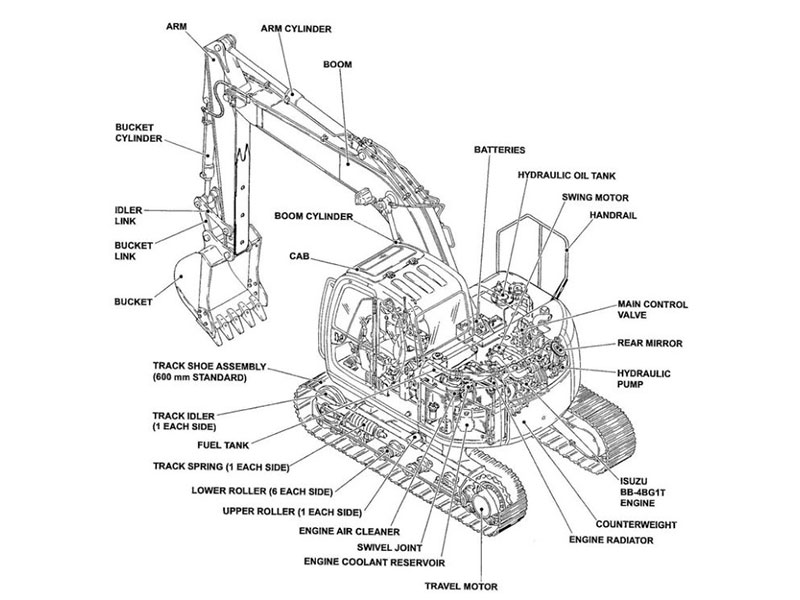
Every check begins with identification. You need two numbers before you judge any component: the part number on the component itself and your machine’s model and serial number. The part number usually shows up as a stamped, printed, or molded code on the housing, connector body, or label. Locations differ by model and component, so trace the number on the unit in front of you instead of guessing a fixed spot. Your machine’s model and serial number are on its data plate and in the operator documentation. Write down both exactly as shown. One wrong digit can send you home with the wrong component.
Positive identification also covers the machine itself. Two excavators of the same model can have different electrical setups depending on build period and options. The serial number narrows that range. Write down the full machine identity, the component identity, and the configuration details together. This record supports every later diagnostic step.
Cross-Reference Compatibility
Now cross-reference. Open the Terex parts manual for your model and serial number range. Find the part number and confirm the description, the connector type, and the mounting arrangement. A used part may carry a superseded number, so check the manual’s notes for replacements. Identification is not complete until the manual listing and the physical part agree.
Record the donor machine identity separately from the receiving machine. Their serial numbers need not match. Confirm the proposed component application against appropriate documentation, including configuration, any supported supersession and the actual items supplied.
Treat visual similarity as a starting point only. Two components can look alike and still differ internally. The same rule applies to refurbished and rebuilt units. A rebuilt alternator may use different internal components than the original, so verify the part number and the manual listing before you trust the label. Careful identification here saves you from repeating these diagnostic steps later.
Inspect Parts Visually
Check Damage and Wear
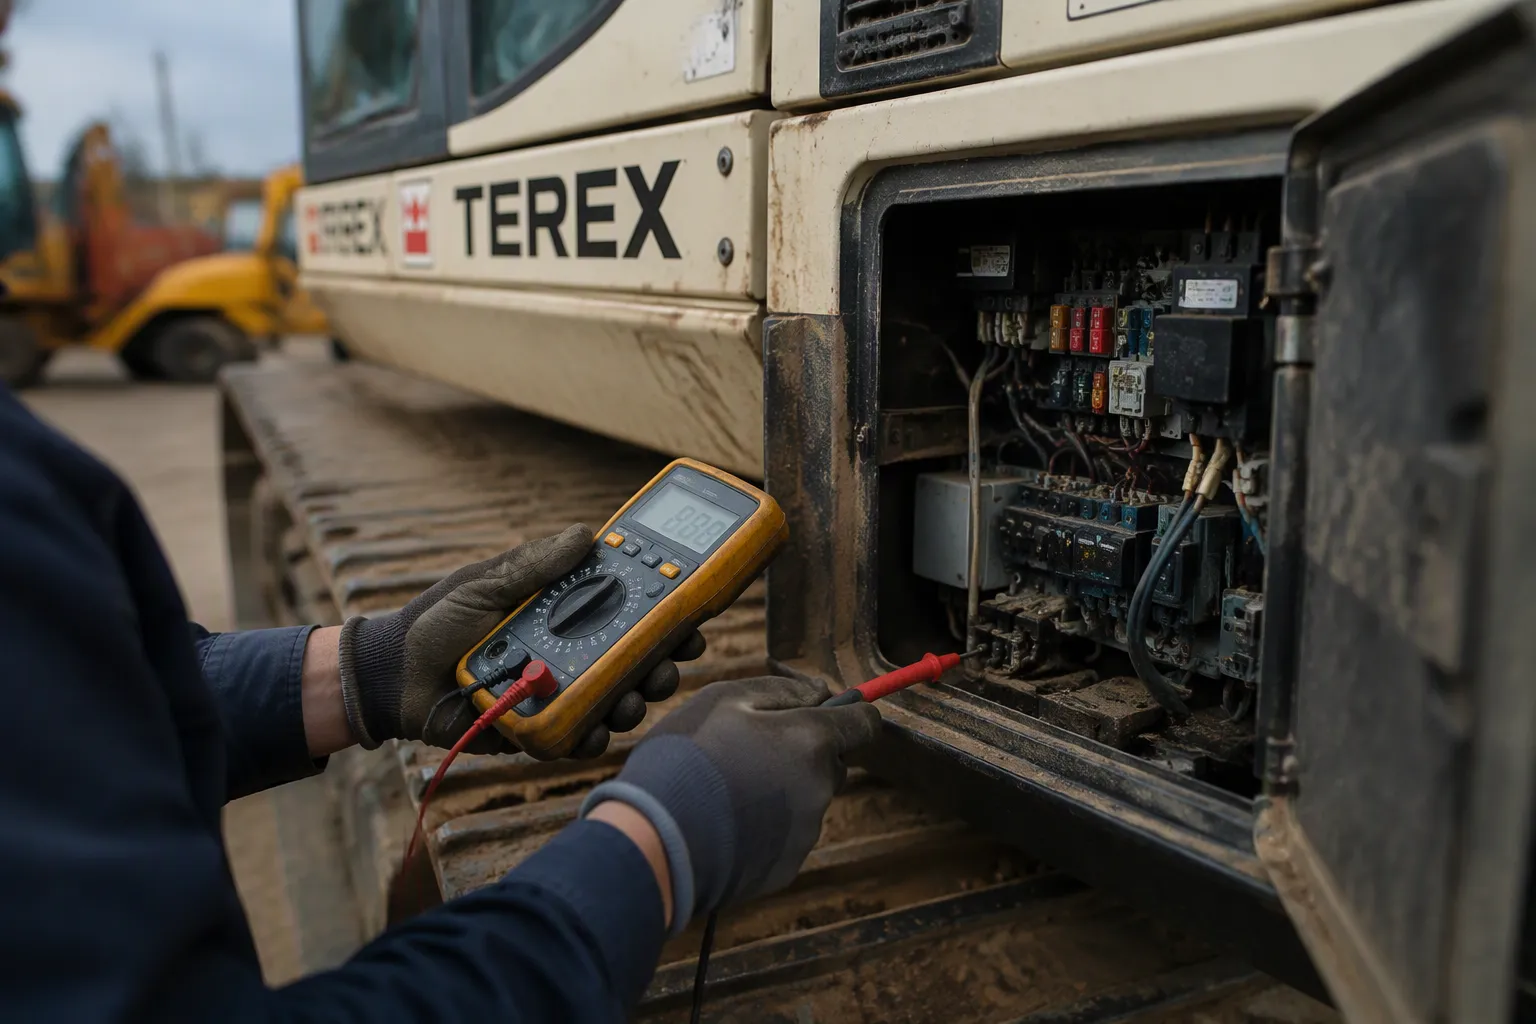
Request clear photographs and qualified findings for the housing, terminals, connectors and harness. Deposits, damage or altered wiring require investigation; appearance alone does not identify the cause or prove a component faulty.
Do not open energized panels or disturb wiring for a buying inspection. Ask qualified personnel to document accessible connector condition, covers and any evidence of previous modification using appropriate isolation and safety procedures.
Look for Corrosion and Burn Signs
Corrosion, darkened terminals and damaged insulation warrant qualified assessment. These observations can have several causes and do not by themselves establish a specific electrical fault or remaining service life.
Ask for qualified findings on the affected wiring and surrounding components. Do not probe, open or energize an unfamiliar assembly to obtain purchase evidence. Photographs supplement identification and test records; they cannot exclude hidden faults.
Review Qualified Electrical Test Reports
Check Continuity and Resistance
Ask qualified personnel for test results obtained under the applicable procedures and specifications. Record which component and circuit were tested, the conditions and the interpretation. A changing reading or an open circuit requires context; it is not a universal diagnosis.
A continuity result addresses only the tested path under the recorded conditions. It does not prove load performance, correct operation or suitability for the receiving excavator.
Check Voltage Where Applicable
Where voltage testing is appropriate, request a qualified report with the specified test conditions and relevant readings. Do not apply power or perform live tests yourself as part of a purchase inspection.
Battery, supply and circuit conditions can affect test results. Review the limits of the report and any unresolved findings; several readings do not automatically provide a complete assessment.
Spot Electrical System Malfunctions
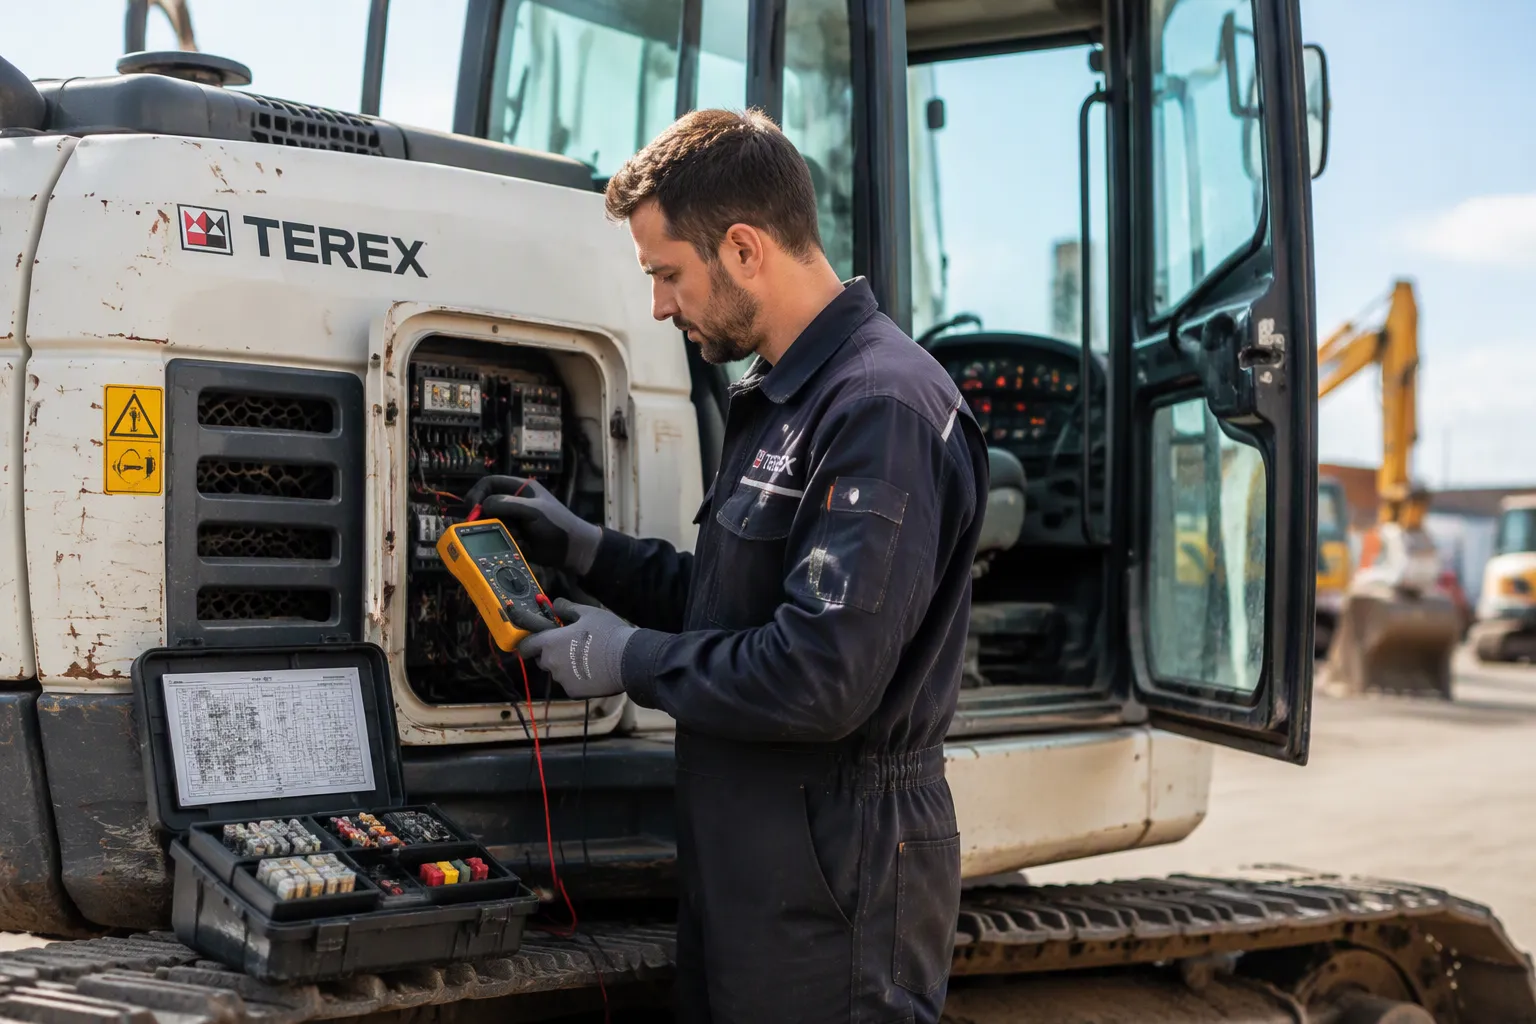
Flickering lights, slow cranking or intermittent operation are symptoms to document, not proof that a particular used component is responsible. Have qualified personnel diagnose the actual machine before selecting a replacement.
A matching part reference supports identification but does not rule out installation, wiring, supply or component faults. Confirm both application and condition independently.
Confirm Fit and Configuration
Fit comes before function. Check that the replacement part matches your excavator’s model, serial number, and part number. Confirm the connector shape, pin count, and mounting points. A part can slide into place and still sit wrong. Look at clearance around the harness and the controls. A tight bend stresses insulation and invites damage later.
Configuration matters just as much. Two used terex excavator parts can share a housing and differ inside. Ask the seller to confirm the source machine and its build details. Compare those details against your own excavator. This step belongs in every pre-delivery inspection plan. Skipping it turns a small repair into a repeat repair.
Observe Performance After Installation
Functional testing belongs to a qualified technician. That person installs the part and follows the service procedure for your excavator model. They watch how the part behaves under real load, not just at idle. They check the controls for smooth response. They confirm the lights and indicators work as designed. They listen for odd noises and watch for heat buildup.
A part that passes a bench test can still fail in service. Real conditions expose weak connections and intermittent faults. Ask the technician to record what they observe. Note any change in behavior across the first run. Compare those notes against your earlier diagnostic data.
Ask qualified personnel to identify unresolved installation and system concerns. Inspection reduces uncertainty only within its documented scope and cannot guarantee future reliability.
Decide and Plan Regular Inspections
Weigh Cost Against Risk
A low price means little when a part fails in the field. Weigh the savings against the downtime. A failed component can strand your excavator and add a second repair bill. Your excavator sits idle while you wait for a replacement. Ask what a breakdown would cost you in lost hours. Compare the total risk, not just the sticker price. A cheap part that quits early costs more than a verified one.
New, rebuilt, and refurbished excavator components each carry different tradeoffs. A new unit offers a known history. A used unit may cost less and still serve well when you verify its identity. Shop any excavator parts marketplace with the same discipline. Confirm the part number, the source machine, and the selling unit before you commit. Your earlier diagnostic steps give you the evidence for this decision. Skip them, and price becomes a guess.
Confirm Return Terms and Support
Ask about return terms before money changes hands. Confirm the return window, the condition rules, and who pays shipping on a return. Ask what support the seller offers after the sale. A seller who answers technical questions quickly is easier to work with. Written terms beat verbal promises.
Keep written identification, condition reports, quotations and agreed return terms. These records support a claim review, but the actual written terms determine eligibility and remedies.
Plan inspections according to the applicable maintenance requirements and qualified advice. Document findings and address confirmed defects through the appropriate service process.
You now have a clear order to follow. First, confirm the part and serial number match. Look the component over for damage, corrosion, and wiring problems. Have a qualified technician test it with a multimeter. Confirm fit and function, then decide. These diagnostic steps protect your machine and your budget.
A documented decision helps compare alternatives and understand unresolved risks. It cannot guarantee freedom from repeat repairs or downtime.
Buy only when the available identification, condition evidence and written terms support the proposed application. If essential information remains unresolved, postpone the purchase.
FAQ
How do I confirm a used electrical part fits my machine?
Match the part number to your excavator’s model and serial number. Look up that range in the Terex parts manual. Make sure the connector shape, pin count, and mounting points all match. Ask the seller which machine the part came from. Just looking alike does not prove the part will fit.
Can I test a used part myself before buying?
No. Only a qualified technician should run continuity, resistance, and voltage tests. That person follows the service procedure for your excavator model. Ask for the test results in writing. A quick check in a parking lot tells you little about how the part performs under real load.
What signs show a used electrical part is failing?
Watch for a control panel that flickers on your excavator. Notice slow cranking, dim gauges, or warning lights that stay on. Look for blackened pins, melted plastic, and powdery corrosion. These signs point to trouble, but they do not prove which part failed.
Should I choose a used part or a new one?
A new part and a used part can differ in condition, documentation, price and written coverage. Compare the actual offered items and their supported application rather than assuming a label or price guarantees quality.
How often should I inspect the electrical system?
Follow the applicable machine maintenance schedule and qualified advice for the actual working conditions. Additional checks may be needed after a fault or repair.
For excavator parts sourcing, consider YNF Machinery. Share full machine and component identification, applicable part references and quantities, and request supported compatibility information, an actual quotation, and written warranty and return terms before ordering.