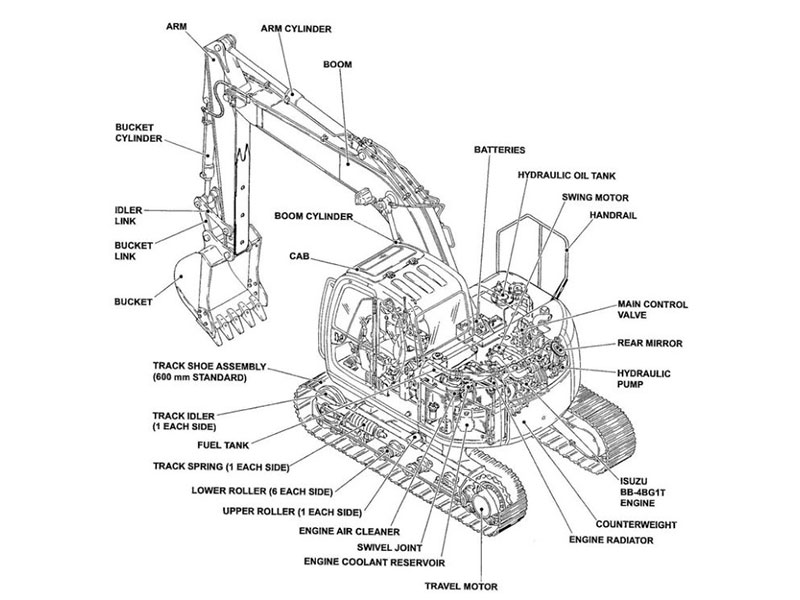
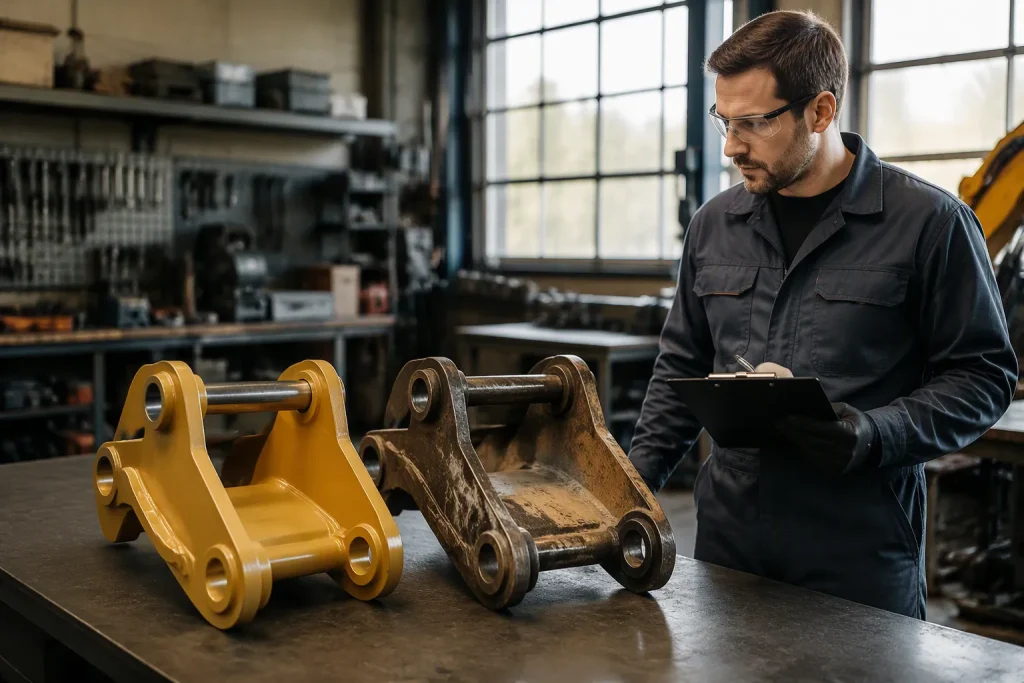
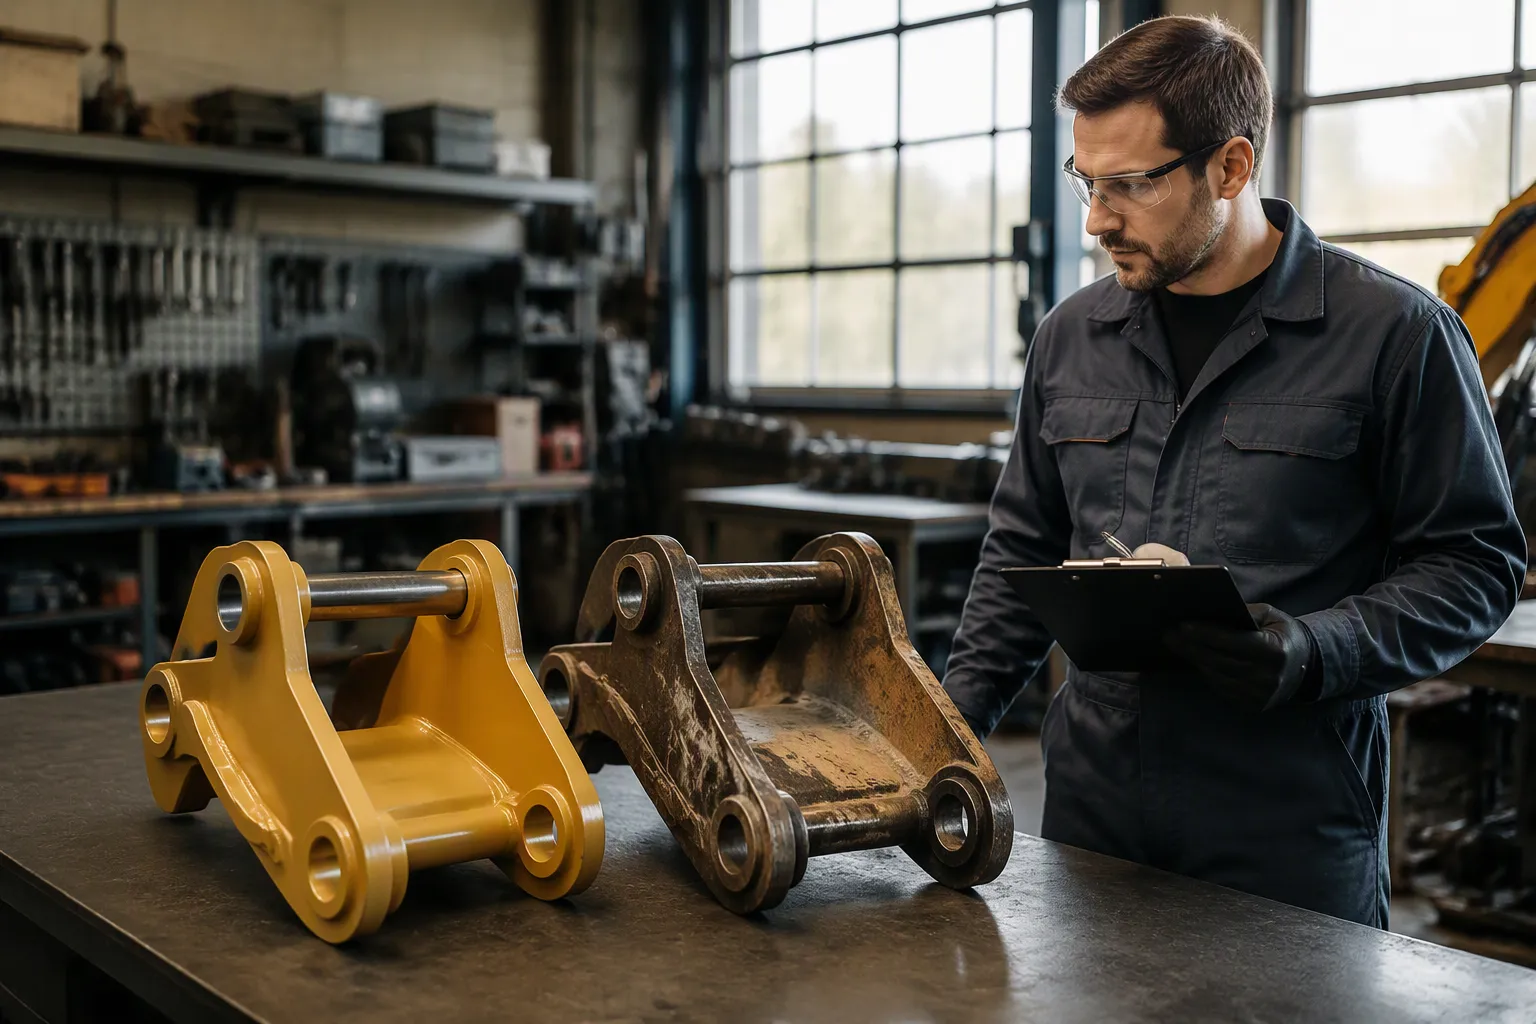
For U.S. buyers researching Volvo excavator spare parts Dubai sourcing, build a replacement checklist from the actual machine configuration and applicable maintenance instructions. Group the required checks by engine and fuel system, air intake and cooling, hydraulics, undercarriage and ground-engaging tools. These categories organize the work; they are not a universal list of components to replace at fixed intervals.
Record the machine model, full serial number, installed component identifiers and relevant part references. Use the applicable service schedule, actual inspection findings and qualified diagnosis to determine what needs replacement. Location alone does not establish a shorter interval, and a genuine or new label alone does not establish fitment.
Key Takeaways
Use the operating-condition provisions in the applicable maintenance instructions. Do not shorten every interval merely because a machine works in Dubai.
Perform the inspections required for the actual machine and work conditions, using the specified methods and safe access procedures.
Interpret any air-filter restriction indicator using the instructions for that exact system. Cleaning and replacement rules depend on the specified element.
Verify the applicable part reference and supported compatibility. Confirm any claimed authorized status separately through official channels.
Volvo Excavator Spare Parts Dubai: Engine and Fuel System
Use the actual engine identification and service information to list scheduled items and condition checks. Oil, fuel filters, seals and gaskets serve different purposes and may have different replacement criteria. A general service-package description does not establish what is due on your machine.
Engine Oil and Oil Filter
Check the specified engine-oil grade, service interval and inspection method for the actual engine. Record service history and relevant warnings. Oil color alone does not diagnose oxidation or identify a failed component. Follow the applicable response to a warning and seek qualified diagnosis before choosing replacement parts.
A gasket or seal should be identified and assessed for the actual engine assembly. A visible leak or odor can have several causes, so do not assume every nearby gasket must be replaced during an oil service. Confirm the source and applicable repair requirements before ordering.
Component | Evidence to record before selecting a replacement |
|---|---|
Valve cover gasket | Actual leak location and qualified inspection findings |
Oil filter housing gasket | Housing identification and confirmed source of leakage |
Oil cooler gasket | Applicable cooler assembly and relevant diagnosis |
Nearby seals | Identify the affected seal and any related inspection requirements |
Match the applicable component and orderable part reference to the installed engine configuration. Packaging, a casting mark or a matching model name alone cannot establish authenticity or compatibility. Request clarification of any superseded number or revised assembly.
Fuel Filter and Fuel/Water Separator
Identify the fuel-filter and separator arrangement from the actual engine records. Follow the specified service and inspection instructions. Record symptoms accurately without assuming that a particular noise, starting problem or smoke color proves a failed filter or pump.
Record difficult starting and the conditions in which it occurs.
Record changes in performance and any displayed fault information.
Record an unexpected stop and seek the appropriate diagnosis.
Report unusual sounds without treating the sound alone as a component diagnosis.
Note relevant fuel-system inspection findings using the applicable procedure.
Record irregular running and arrange qualified assessment when needed.
Where fuel contamination is suspected, use the applicable inspection or testing method and qualified assessment. Symptoms can overlap across faults. Do not infer a particular contamination level, damaged component or replacement requirement from appearance or exhaust color alone.
Confirm the filter and separator references and follow the applicable servicing instructions, including any conditions for inspection, draining or replacement. A regional search term does not establish the right interval or component. Use documented machine and engine identifiers for the order.
Air Intake and Cooling System
Air Filters and Clogging Indicators
Check the actual intake arrangement, specified element and relevant inspection instructions. Inspect housings, connections or pre-cleaning equipment only as directed for that system. Record observed condition and any restriction warning rather than relying solely on elapsed time.
Restriction indicators and display warnings vary by machine and filter system. Use the specified reading conditions and action criteria for the actual equipment. Do not assume a universal red-zone threshold or cleaning prohibition applies to every element; follow the applicable instructions.
Item to identify | Information to consult | Action to confirm |
|---|---|---|
Installed indicator and filter element | Applicable operating and maintenance instructions | Use the specified inspection, service or replacement criteria |
Coolant, Hoses, and Fan Belts
Follow the machine-specific safe inspection procedure for the cooling system. Do not open a hot, pressurized cooling system. Record warning information, visible leaks and the applicable coolant specification, then obtain qualified diagnosis of unexplained coolant loss or overheating.
Inspect hoses, belts and related cooling components as specified for the actual arrangement. Record damage and compare findings with the applicable acceptance criteria. Fluid appearance or a single symptom does not establish the cause, and flushing or replacement should follow the relevant diagnosis and procedure.
Hydraulic System Parts
Use the hydraulic component identifiers, specified fluid and actual service history to plan inspections. Pump, cylinder and motor symptoms can overlap. Qualified diagnosis and applicable service requirements determine the component and work needed.
Hydraulic Oil, Filters, and Seals
Use the applicable fluid, machine configuration and maintenance instructions to establish hydraulic service requirements. The following checklist avoids assuming a universal hourly interval:
Planning input | What to confirm | Supporting record |
|---|---|---|
Actual machine and hydraulic configuration | Applicable service schedule and fluid specification | Machine and component identification |
Actual operating and fluid condition | Any condition-based provisions in the applicable instructions | Relevant inspection findings and suitably interpreted test results |
Where appropriate, a properly designed fluid-analysis program can support a condition assessment. Sampling method, fluid type, component context and trends matter. No universal sampling interval or guaranteed warning period applies to every hydraulic system.
Check the specified filter arrangement, hoses and seal requirements during the relevant service work. Leaks, drift or irregular movement require diagnosis; do not infer a particular seal failure from one symptom. Use the table to record observations and the required follow-up.
Observation | Follow-up to confirm |
|---|---|
Visible damage to an accessible hose or seal area | Assess using the applicable inspection and replacement criteria |
Leakage near a cylinder gland | Identify the actual source and relevant component condition |
Unexpected cylinder or attachment movement | Follow the applicable safety procedure and obtain qualified diagnosis |
Slow or irregular hydraulic movement | Investigate the hydraulic and control system using the applicable procedure |
Hydraulic Pumps, Cylinders, and Swing Motors
Record changes in hydraulic behavior and any warning information. The following observations warrant assessment but do not establish a single failed component:
Slower response or jerky movement
Loss of lifting or pushing power
High-pitched whine or noise from the pump
Visible leaks around the pump housing or lines
Discolored or burnt-smelling fluid
For travel or swing concerns, record the symptoms and relevant warning information and obtain qualified diagnosis. Check the proposed replacement against the actual assembly reference, serial range and installed configuration. A management-system certificate alone does not prove product fitment.
Undercarriage and Ground-Engaging Tools
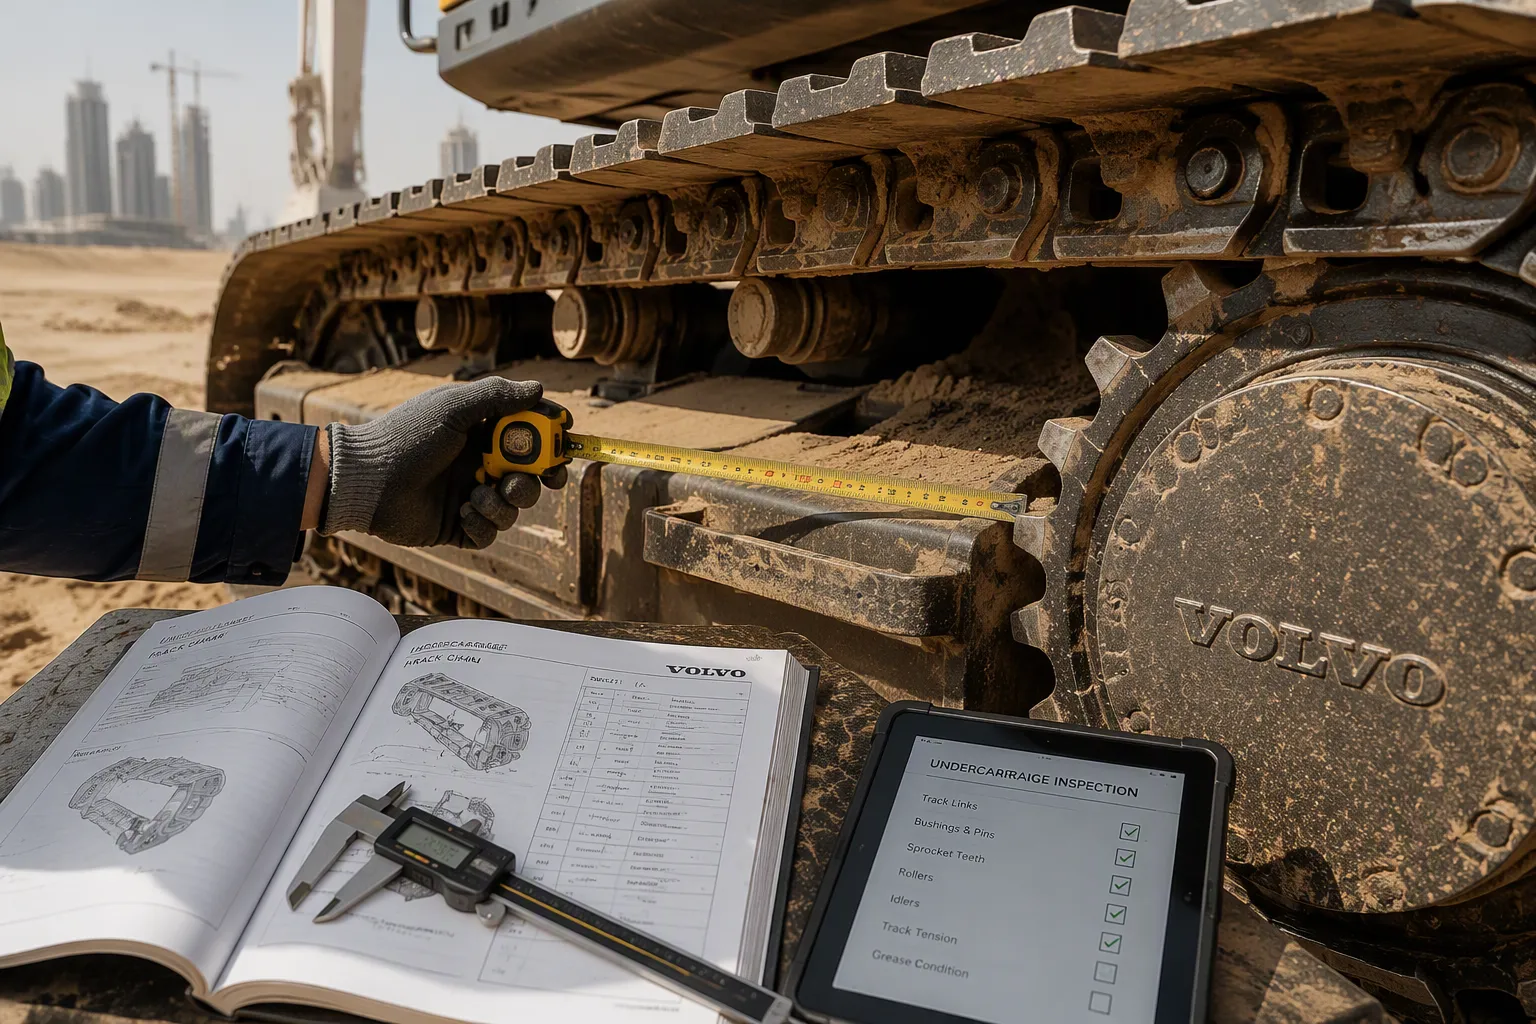
Undercarriage inspection should reflect the actual configuration, service instructions and observed condition. Work material and operating practices can matter, but the regional keyword does not establish a wear rate or replacement threshold. Record measurements using the applicable method and limits.
Track Chains, Rollers, Idlers, and Sprockets
Use the measurement span, preparation and acceptance criteria specified for the actual chain and assembly. There is no single elongation percentage or number of links that applies to every Volvo excavator undercarriage. Do not infer a service limit from visible sag alone.
Use an inspection plan matched to the actual assembly:
Record relevant damage or wear and obtain the specified assessment.
Measure the chain using the applicable reference points and span.
Compare the results with the correct specification and service limits.
Use the documented limit for the actual component rather than a generic percentage.
Track measured condition over time. Do not assume a fixed hourly wear rate for all soils, machines or operating practices.
Assess sprockets, rollers, idlers and chain components using the relevant criteria. Wear in one item may affect a matching assembly, but tooth shape alone does not establish every replacement decision. Obtain guidance on related components and installation requirements before ordering.
Keep the inspection method and condition criteria separate from assumptions about terrain. Use a record such as the following for the actual assembly:
Component | Applicable inspection basis | Evidence to record |
|---|---|---|
Steel tracks / track chains | Specified chain measurement method and service limit | Actual readings, reference points and inspection date |
Bottom (track) rollers | Relevant tread, flange and assembly requirements | Measured wear and observed condition |
Top (carrier) rollers | Applicable carrier-roller inspection instructions | Observed condition and relevant measurements |
Sprockets | Applicable tooth profile, damage criteria and matching requirements | Inspection findings and proposed assembly requirements |
Bucket Teeth, Cutting Edges, and Side Cutters
Use the applicable wear limits, condition criteria and matching requirements for the teeth, cutting edges and retainers fitted to the bucket. Visible wear can inform the inspection but does not establish a universal remaining life or fuel-consumption effect.
Checklist item | Evidence to confirm | Purchase decision |
|---|---|---|
Teeth and retainers | Correct system reference and applicable wear or damage findings | Replace or retain only in accordance with the applicable criteria |
Cutting edges and fasteners | Correct dimensions, attachment details and condition criteria | Confirm the relevant items and installation requirements |
Side cutters or other bucket protection | Actual bucket configuration and applicable condition limits | Select the required reference and quantity from documented findings |
Consider purchase cost alongside the actual condition, application and installation requirements. Avoid assuming a universal productivity or fuel-saving result from a particular tooth shape or replacement.
Check whether side cutters or other protection are fitted and identify the applicable references. Do not automatically include them in every order. Purchase the items and quantities supported by the actual inspection and planned work.
Operating Conditions and Replacement Planning
Use any operating-condition provisions in the applicable manual and service guidance. Heat, dust, duty and work material may be relevant, but none establishes that every service interval must be shortened. Record the actual conditions and required response.
Heat, Dust, and Sandy Soil
Inspect relevant hoses, belts, seals and mountings using the applicable criteria and safe procedure. Do not assume all rubber components share the same exposure, material or replacement trigger. Record actual damage and confirm the appropriate action.
Review intake, fuel-handling and undercarriage condition as relevant to the machine and work. Visual findings may require further assessment; they do not automatically replace the specified schedule or establish internal component condition.
Heavy Digging and Workload
Record the actual duty, machine hours and service history and use the applicable guidance for severe or special conditions. Do not rank wear solely from a generic comparison of rock and sand or apply an invented interval to every machine.
Pins, bushings, mountings and other assemblies require the relevant inspection and condition criteria. A qualified assessment can help identify the work needed but cannot guarantee prevention of every failure. Resolve damage or abnormal behavior using the applicable safety and service instructions.
Order from an authorized dealer or parts supplier using the full machine and component identification. Verify any claimed authorized status and request the basis for compatibility, current item availability and written purchase terms. A regional address, matching appearance or quality certificate alone cannot prove fitment.
Build the replacement list from the actual machine requirements, service records and inspection findings. Confirm applicable part references, quantities and any documented supersessions. A Dubai sourcing keyword provides location context, not a universal maintenance schedule.
Keep the component identification and supporting inspection information with the quotation and order. Clarify unresolved differences before payment or installation.
Checklist Summary
Hydraulic-fluid service requirements depend on the actual machine, fluid specification and applicable instructions.
Air-filter inspection, cleaning and replacement rules depend on the installed system and specified element.
Request written item identification, relevant condition evidence and purchase terms before committing to an order.
FAQ
How often should I replace hydraulic oil?
Use the actual machine and fluid specifications and applicable maintenance instructions. Follow any relevant condition-based requirements and obtain qualified interpretation of fluid tests where appropriate. No universal hourly interval applies to every Volvo excavator.
Can I clean a paper air filter instead of replacing it?
Check the instructions for the actual element and intake system. Some elements have specific permitted servicing methods and limits, while others require replacement. Do not apply a general cleaning method or prohibition to every filter.
What does a red zone on the air filter indicator mean?
Use the indicator instructions and reading conditions for the exact machine and system. Confirm the required action in the applicable maintenance guidance instead of assuming every red-zone display has the same threshold or meaning.
When should I replace bucket teeth and cutting edges?
Inspect the actual tooth, edge, retainer and bucket configuration and compare findings with the applicable wear and damage limits. Confirm which items need replacement and the relevant installation requirements.
How do I verify a genuine Volvo part before purchase?
Verify the claimed origin using relevant traceability and product evidence, and separately confirm the applicable reference and machine compatibility. Packaging, a matching number or a genuine label alone does not establish condition or safe operation.
For Volvo excavator parts sourcing, consider YNF Machinery. Provide full machine and component identification, applicable part numbers and quantities, and request supported compatibility information, an actual quotation and written warranty and return terms before ordering.