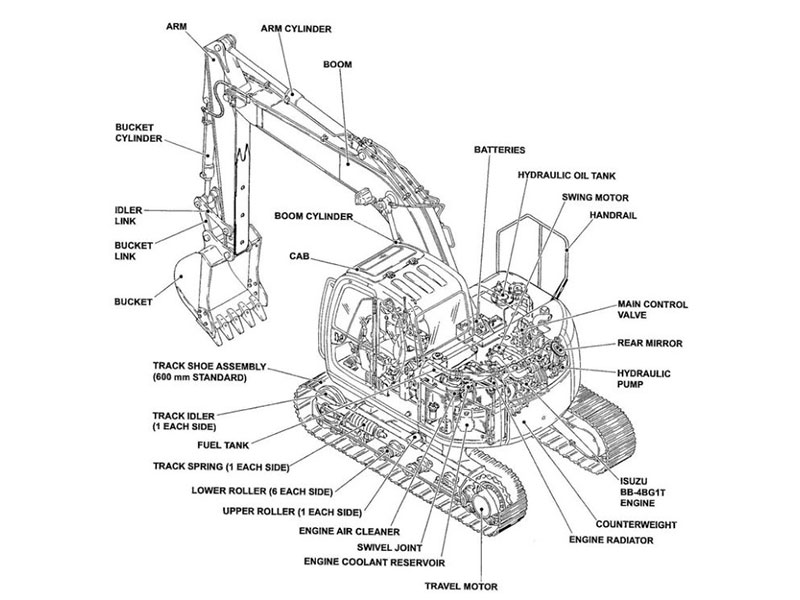
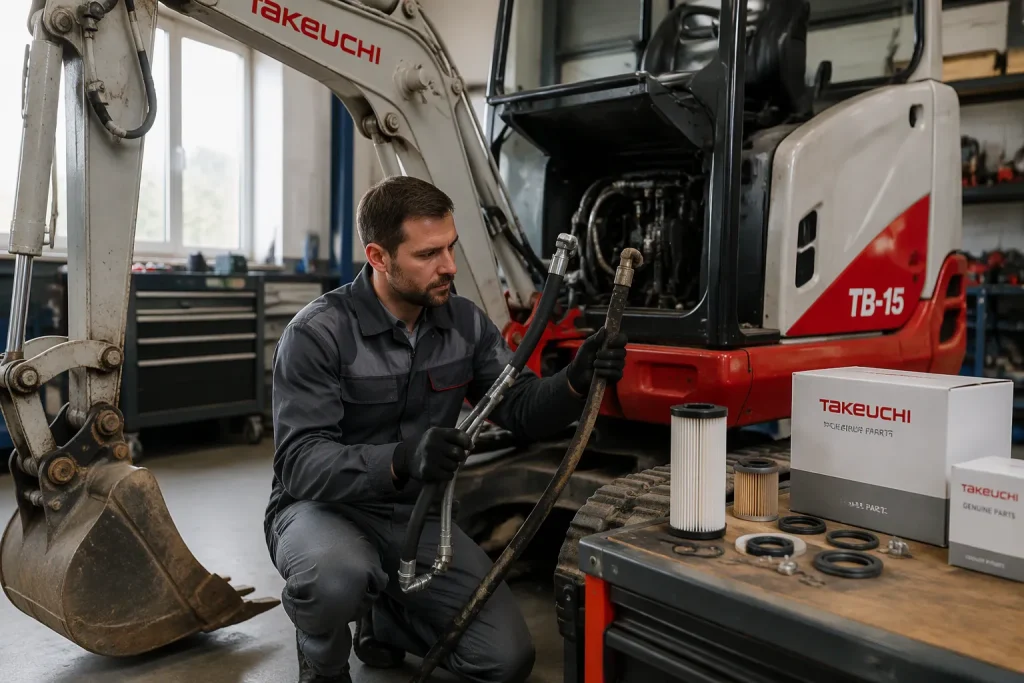
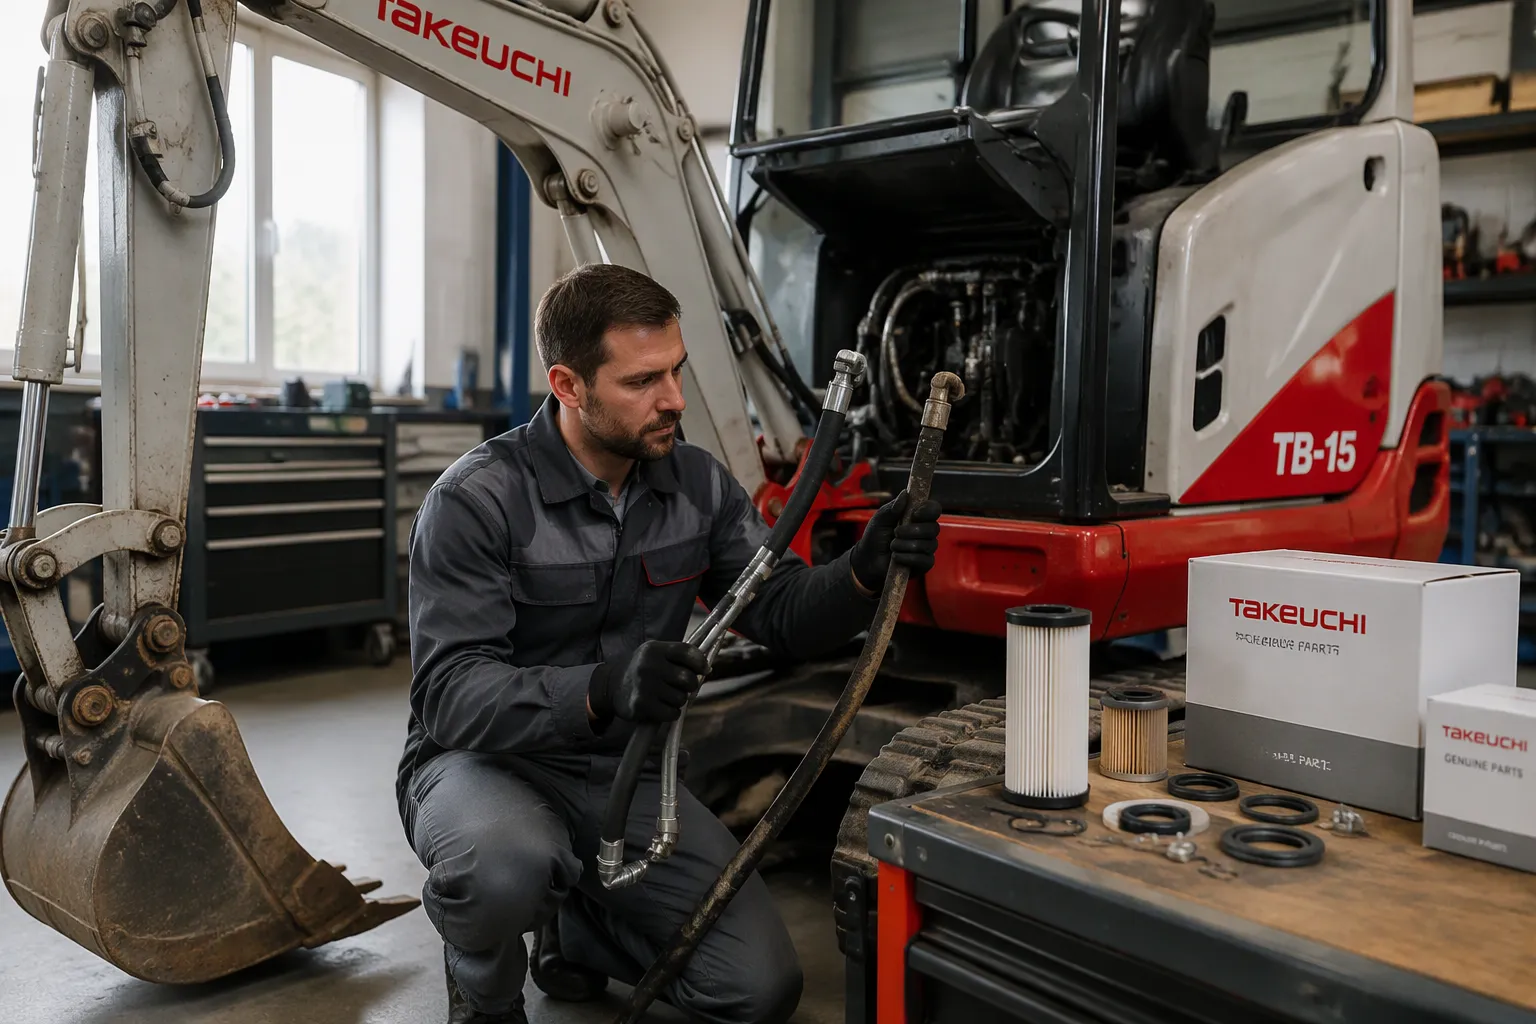
Wear items on an excavator need regular attention. On a Takeuchi TB15, inspection areas may include bucket teeth, tracks and sprockets, pins and bushings, hoses, filters, and belts; the exact parts depend on the machine configuration. Use the applicable parts manual and serial details to confirm which components fit your unit.
Bucket teeth
Tracks and sprockets
Pins and bushings
Hoses
Filters
Belts
This guide keeps takeuchi excavator tb-15 parts simple. You will learn two things for each item: how to spot wear and how to replace it safely. Some jobs suit a careful owner with basic tools. Others need a qualified technician. Know the difference before you start turning wrenches.
Key Takeaways
Record your machine’s model and serial number. Use them to order the correct parts every time.
Inspect tracks, teeth, pins, and filters often. Catch wear early to avoid big repairs.
Replace worn parts safely. Follow your manual and use proper equipment.
Keep common spare parts on hand. This prevents small problems from stopping your work.
Order the right parts for your serial number. A wrong part wastes time and money.
Identify Your Takeuchi Excavator TB-15 Parts
Check the Manual and Machine Details
Your operator’s manual is the first tool for any parts job. It lists the wear items for your machine and shows where each one sits. Pull it out before you order anything. A photo of a worn part helps, but the manual tells you what the part should look like when new.
Check the machine identification plate and record the full model and serial number. Parts can vary by configuration or serial range, so use those details with the applicable parts manual before selecting a replacement.
Use the Serial Number and Parts Manual to Confirm Fitment
Use the model and serial number to find the correct section in the parts manual or catalog for your machine. Compare the listed part number and relevant dimensions with the component you are replacing. Do not rely on a model name or a visual match alone.
Recording the machine details and the part reference before ordering helps reduce mismatches and repeat orders. If a number is missing or unreadable, compare the component with the manual illustrations and seek a fitment check using the full machine serial number.
Tracks and Sprockets
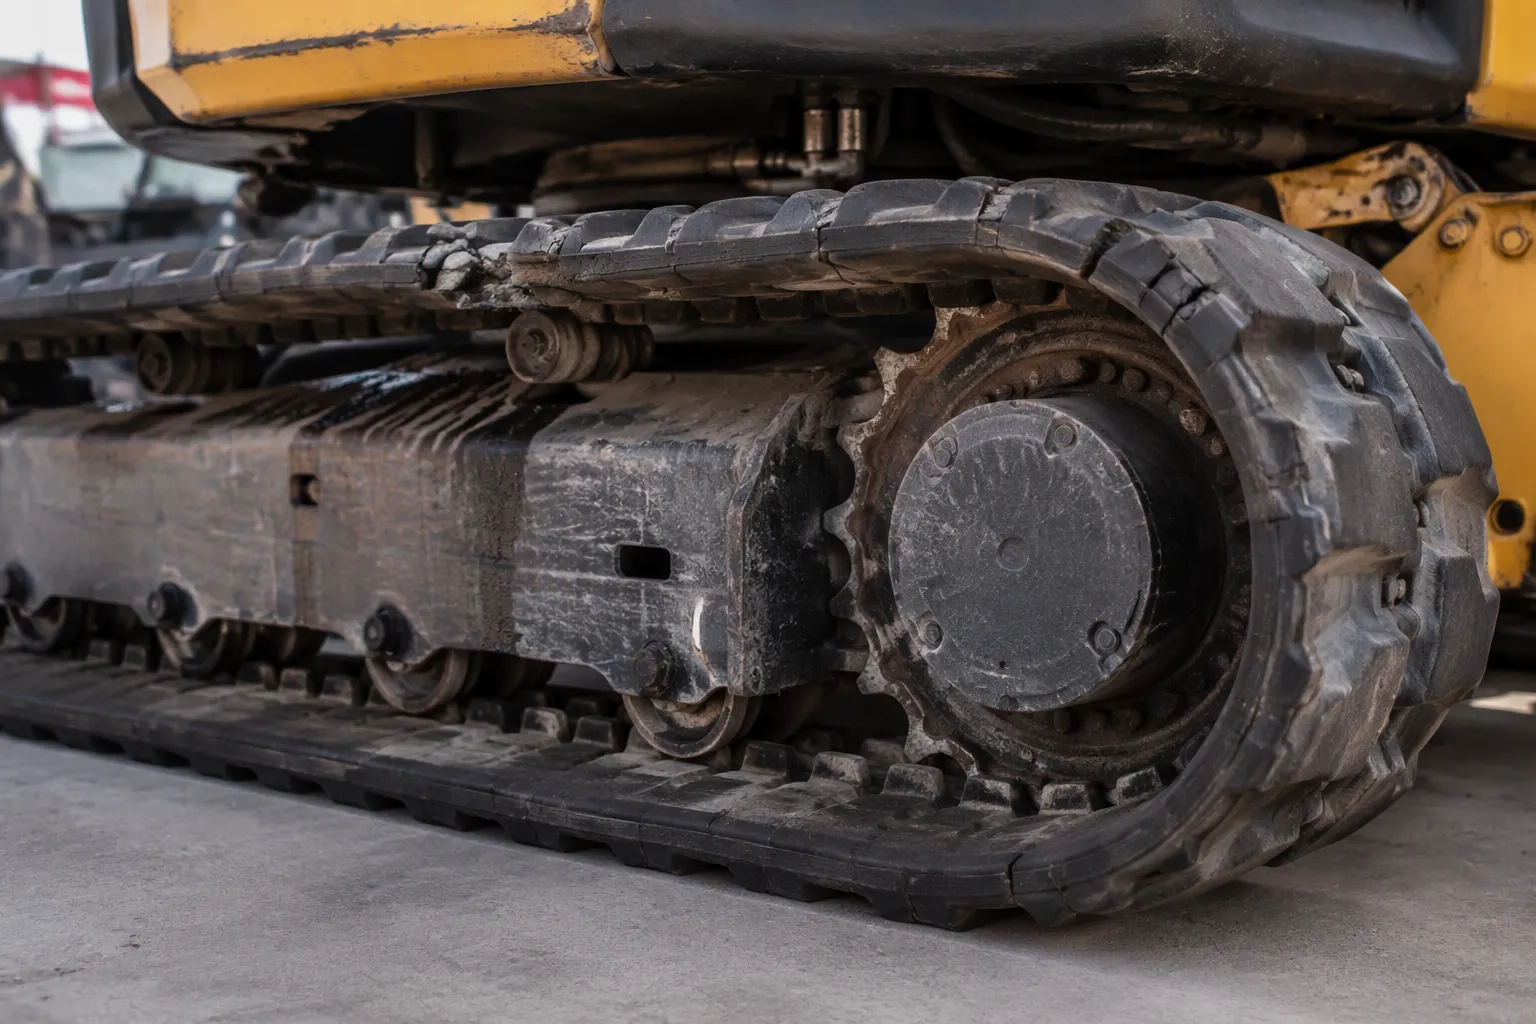
Spot Track and Sprocket Wear
Inspect the rubber track for visible cracking, missing or damaged lugs, exposed reinforcement, and uneven wear. Check the sprocket, idler, and rollers for damage or abnormal wear, and compare findings with the service limits in the applicable manual. Stop operation and arrange inspection if a component is damaged or the track does not run correctly.
Look for damaged, uneven, or visibly worn sprocket teeth and compare them with the manual criteria. Also check the idler and rollers for damage, looseness, or leakage. A qualified technician can measure wear when a visual check is not conclusive.
Replace and Adjust Tracks Safely
Track replacement involves stored tension, heavy components, and pinch hazards. Park on stable ground, lower attachments, shut down the machine, and follow the TB15 manual isolation and lifting procedures. Never work under a machine supported only by hydraulics; use equipment and support points rated for its weight. If the correct procedure or lifting setup is unclear, use a qualified technician.
Always follow the track tension and adjustment procedure in your operator’s manual. Guessing at tension shortens track life and can cause a derailment.
Plan track work only after confirming the correct replacement part and reviewing the manual procedure. Keep bystanders clear and use rated lifting and support equipment. Have a qualified technician release tension, remove and install the track, and set final tension when you lack the training or equipment.
Release track tension only by the procedure in the applicable manual; do not loosen a fitting or improvise a method.
Secure and support the machine only at approved lifting points with equipment rated for its operating weight.
After removal, inspect the sprocket, idler, and rollers against the manual inspection criteria before installation.
Install the correct track and set tension exactly as specified in the applicable manual.
Before returning to work, verify installation and tension using the manual check procedure.
Confirm the replacement track part number and serial-range fit before ordering. Do not run the machine if the track is loose, damaged, or incorrectly installed; use qualified service if you cannot verify the tensioning procedure.
Bucket Teeth, Pins, and Bushings
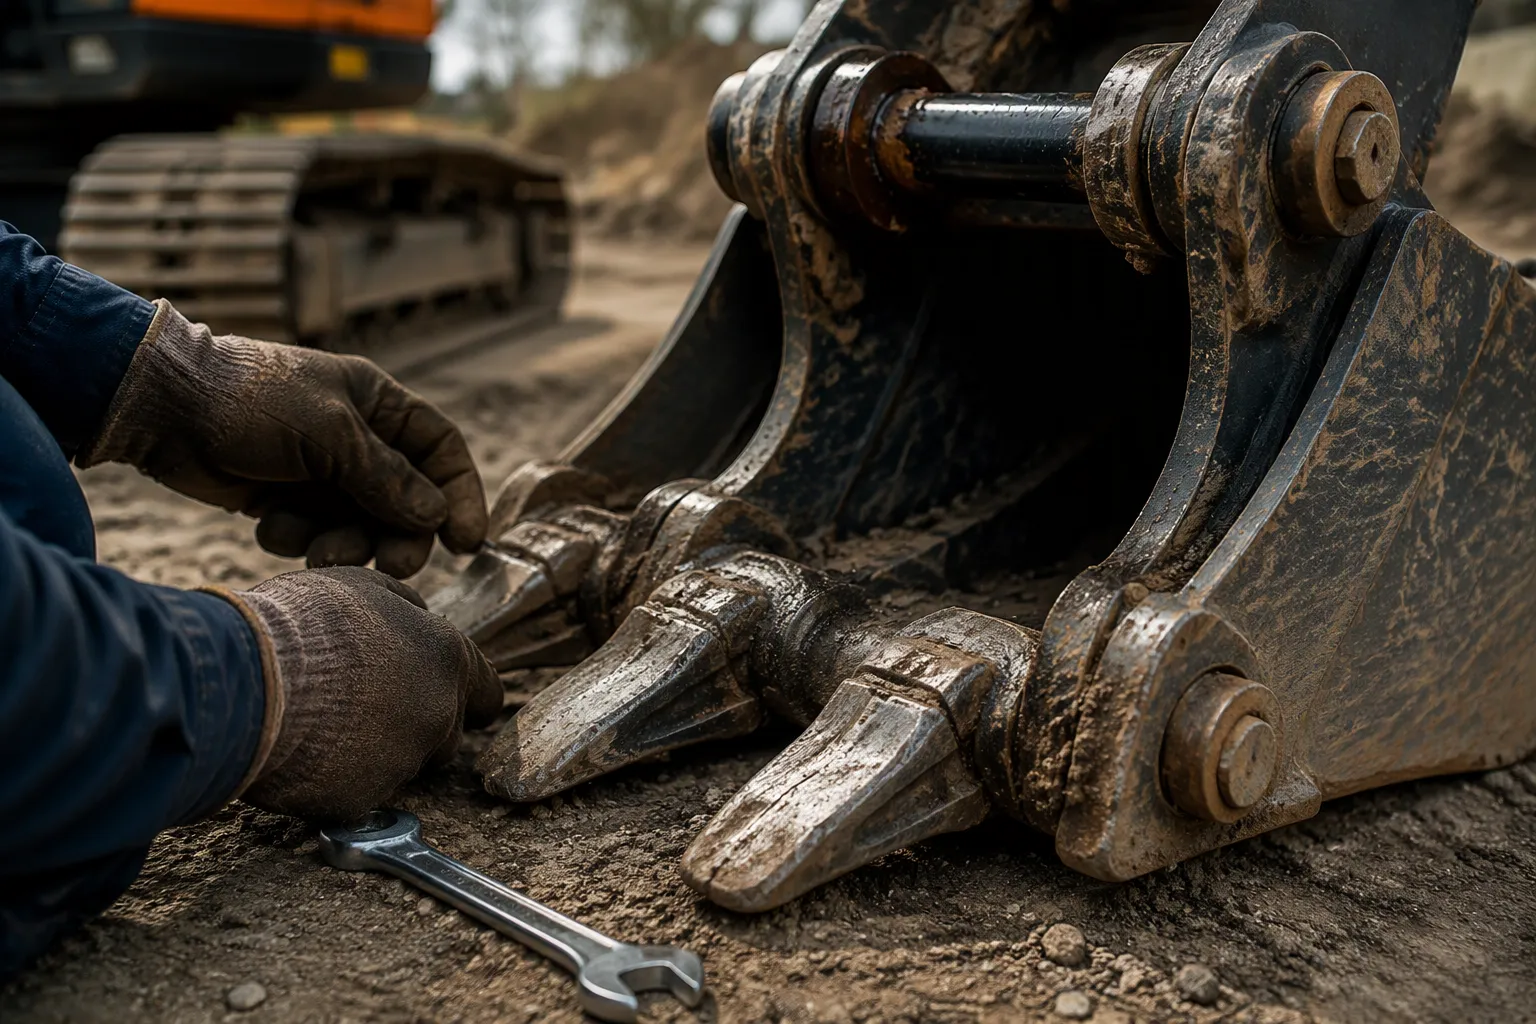
Spot Wear on Teeth, Pins, and Bushings
Inspect bucket teeth and adapters for rounded edges, cracks, missing material, looseness, and uneven wear. Compare the part and retainer style with the parts diagram for your bucket. Replace components when the manual or a qualified inspection indicates they are out of service; do not assume parts fit because they look similar.
Check linkage joints for excess movement, damaged seals, or visible wear. Keep the attachment safely lowered and secured; do not place hands near a suspended or moving linkage. Measurement and replacement may require proper tooling and a qualified technician.
Replace Teeth, Pins, and Bushings
Tooth and retainer designs vary by bucket and configuration. Use the parts diagram to identify the correct tooth, adapter, and retainer, and follow the manual procedure with the attachment secured. Use specified tooling; seek qualified service if components are damaged or seized.
Pin and bushing replacement can involve heavy linkage and press-fit components. Secure the attachment with approved supports, use the manual procedure and suitable tools, and have a qualified technician assess worn bores or damaged bosses.
Remove retaining hardware and pins only using the manual procedure while the attachment is securely supported.
Inspect and measure pin and bushing surfaces against the applicable service limits.
Use specified tooling and procedure for removal and installation; do not improvise a press fit.
Clean and lubricate components as directed by the manual before assembly.
Reinstall retainers and apply torque or locking methods only to values and procedures specified in the manual.
Confirm the part number and dimensions against the correct manual and serial range. If the bore or surrounding structure is damaged, have it inspected before installing new components.
Plan related replacements only after checking each part number against the parts catalog. If a joint is badly worn or damaged, have the linkage inspected before ordering components.
Filters, Hoses, and Belts
Check Filters, Hoses, and Belts
Keep a small inventory only for items identified by your service needs. Store parts clean and dry, label them with the applicable model and part number, and recheck fitment before installation.
Use the service schedule and parts manual for exact filter types and service intervals on your configuration. With the machine shut down and cool, visually inspect accessible hoses and belts for cracks, bulges, fraying, or leaks. Never use your hand to search for a pressurized hydraulic leak; follow safe depressurization instructions and seek qualified service.
Do not assume an older machine needs a complete fluid change solely because of its age. Check service records, fluid condition, and the Takeuchi maintenance schedule, then use the specified fluid and filters for the machine.
Replace Service Items Safely
Before service, park safely, lower attachments, shut down, allow hot components to cool, and follow the manual isolation procedure. Wear suitable protective equipment and use proper containers for fluids.
Use the manual procedure for each fluid, filter, or belt. Do not open a pressurized system or work near moving parts. Refill and adjust only to the documented specification, then inspect for leaks before returning the machine to service.
Use a walk-around to spot obvious damage before operating, and follow the manual for inspection and lubrication intervals. Record the model, serial number, and part numbers for service history. Replace items only after confirming the correct part and applicable wear criteria.
FAQ
How do I confirm a part fits my TB15?
Check the model plate and serial number first. Then compare the number on the old part with the parts list in your operator’s manual. Order only after both match. A close-looking part is not proof of fitment.
Which wear parts should I keep on the shelf?
Choose shelf stock based on service history, machine usage, and the manual rather than assuming every item wears at the same rate. Verify each part number and storage requirement before stocking it.
Can I replace tracks and bushings myself?
Whether a repair is suitable for an owner depends on the procedure, training, and equipment required. Follow the manual and use qualified service for heavy, pressurized, or high-load components such as tracks and linkage bushings.
How often should I inspect the undercarriage?
Use the manual inspection and lubrication schedule for your machine. A walk-around can reveal obvious damage, but do not treat a generic interval as a substitute for Takeuchi instructions.
Where can I check availability for a replacement part?
Share the model, full serial number, and part number with YNF Machinery to ask about availability and fitment. Confirm the match against the applicable parts manual before ordering.