You can change 302.5 cat mini excavator track drive parts if you follow the right steps. Safety is very important. Wear the right safety gear. Use only original cat parts. This helps your machine work well. Check your machine often. This helps you find problems early. You can stop issues like hydraulic motor wear, leaking seals, and dirt buildup.
Dirty oil can scratch inside parts. It can make the motor last less time.
Old gearboxes and leaking joints can make the motor slow down or stop working.
Dirt near the undercarriage can move seals. This causes leaks and expensive fixes.
Key Takeaways
Always wear safety gear like gloves, goggles, and steel-toed boots. This keeps you safe when you do repairs.
Use original Caterpillar parts for a better fit and longer life. These parts help stop breakdowns. Good aftermarket parts with warranties can also work.
Clean and organize your tools and parts before you start. This makes repairs safer and faster.
Check and adjust track tension often. This helps your excavator run well and stops expensive damage.
Look at seals and bearings closely to avoid leaks. Fix problems early to save money and make your machine last longer.
Tools & Parts
Tool List
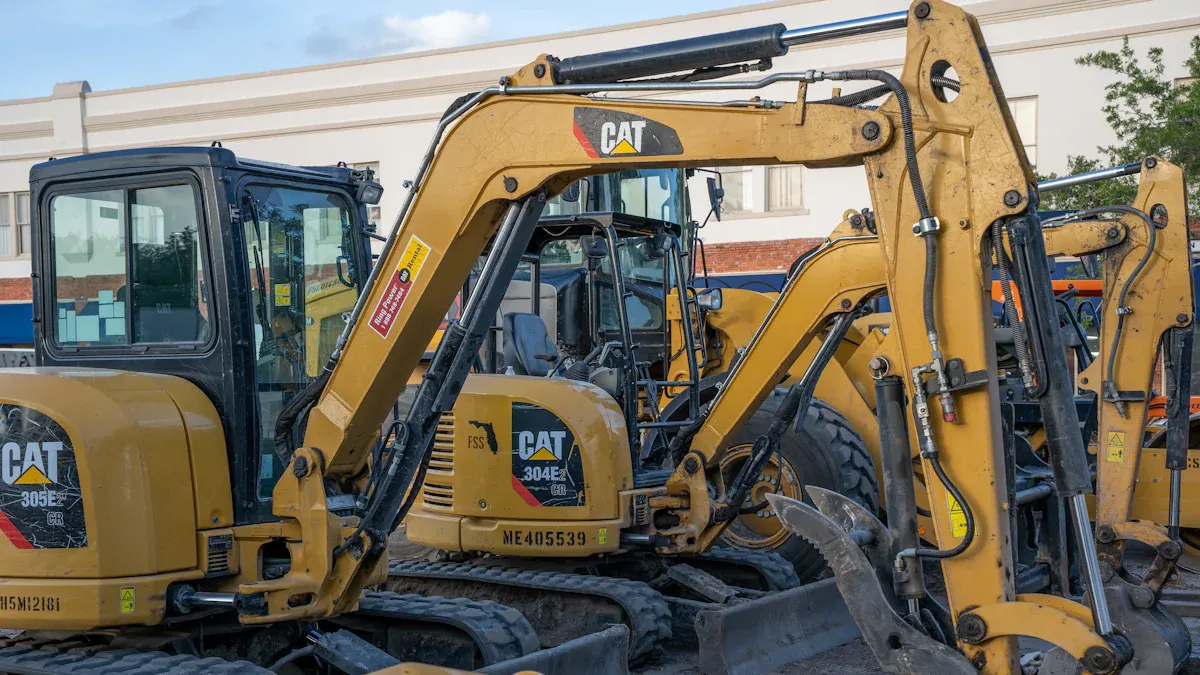
You need the right tools to fix your 302.5 cat mini excavator track drive parts. Gather all your tools before you start. This makes the job quicker and safer.
Safety gloves and goggles keep your hands and eyes safe.
A strong jack or lift holds the excavator steady.
Wrenches and socket sets help you take off bolts and nuts.
Hydraulic hose disconnect tools let you remove hoses without breaking them.
Pry bars and rubber mallets help you move heavy undercarriage parts.
An oil drain pan catches old hydraulic fluid.
Cleaning brushes and rags help keep your work area clean.
Tip: Always wear safety gear when you work with heavy machines. This helps you stay safe and avoid getting hurt.
302.5 cat mini excavator track drive parts checklist
Check your parts list before you begin. The most common parts to replace in the 302.5 cat mini excavator track drive system are:
Drive sprockets
Idlers
Rollers
Rubber tracks
Track chains or rails
Track grouser pads or shoes
Track frames
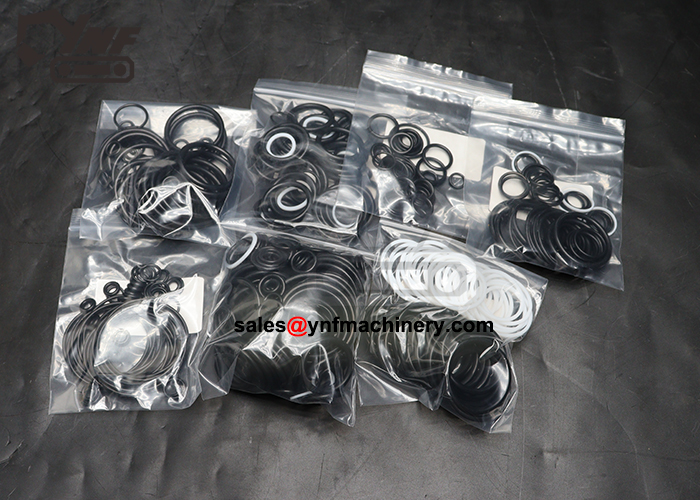
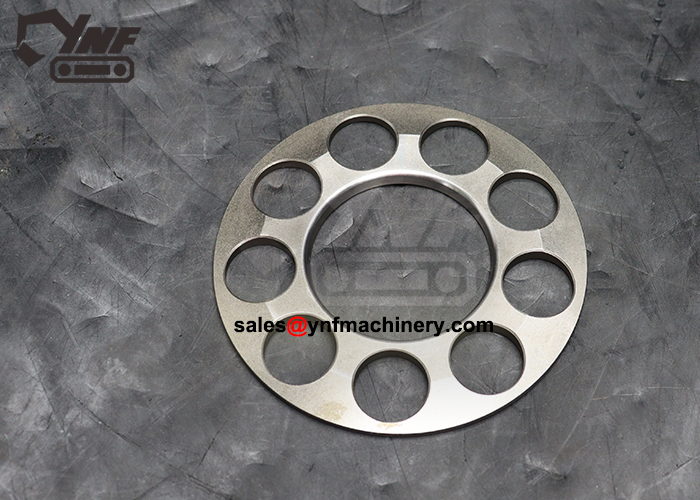
These undercarriage parts wear out after a while. You might also need seals, bearings, and gear teeth. If the main bearing fails or gear bearings wear out, the drive system can have problems. Worn upper and lower shafts and leaking seals can cause oil and hydraulic fluid leaks.
When picking new parts, you have two choices. Original cat parts cost more, but they fit well and last longer. Aftermarket parts are cheaper, but quality is not always the same. Some good aftermarket brands last a long time and have a warranty. For example, a good aftermarket rubber track can save you over $200 compared to OEM prices and still work well. Always check the warranty and the seller’s reputation before you buy aftermarket parts.
Note: Using original cat parts for your 302.5 cat mini excavator track drive parts helps your machine work better and break down less often.
Safety
Personal Protection
You need to protect yourself before you start any work on your mini excavator. Always wear safety gloves and goggles. These keep your hands and eyes safe from sharp metal and flying debris. Steel-toed boots protect your feet if a heavy part falls. Wear a hard hat if you work under or near the machine. Use hearing protection if you work in a noisy area.
Crush injuries and pinning accidents can happen during track drive part replacement. A safety report from OSHA describes a worker who got pinned between the bucket blade and the excavator track. The worker suffered a severe leg fracture. This shows that you must stay alert and never work alone. Make sure someone knows you are doing maintenance. If you get hurt, help can come fast.
Tip: Always check your gloves and boots for damage before you start. A small tear can let oil or a leak reach your skin.
Machine Safety
You must secure the excavator before you remove any parts. Lower the bucket to the ground. Turn off the engine and remove the key. Place wheel chocks or blocks behind the tracks. This stops the machine from moving.
Next, drain the hydraulic oil. Use an oil drain pan to catch the fluid. This step prevents a leak and keeps your work area clean. Disconnect the hydraulic hoses with the right tool. This stops oil from spraying out and causing a slip hazard. Remove the left rear covers to reach the track drive components. Always check for a worn or damaged seal. A bad seal can cause a leak and lead to more repairs.
Inspect all seals before you install new parts. Replace any seal that looks worn or cracked. A good seal keeps oil inside and stops a leak. This helps your excavator run longer and reduces the chance of a breakdown. Good maintenance habits protect both you and your machine.
Preparation
Work Area Setup
You need a safe and clean space before you start working on your mini excavator. Choose a flat surface with enough room to move around the machine. Remove rocks, tools, and debris from the area. This helps you avoid trips and falls. Place warning cones or signs to let others know you are working. Good lighting helps you see small parts and keeps you safe.
Set up a sturdy workbench for your tools and parts. Keep your wrenches, hydraulic hose tools, and cleaning rags close by. Use a large oil drain pan under the machine to catch any fluid. Lay down cardboard or mats to protect the ground from spills. Organize your replacement parts so you can find them quickly. A clean work area helps you finish the job faster and safer.
Tip: Always check the weather before you work outside. Rain or snow can make the ground slippery and unsafe.
Excavator Prep
You must get your mini excavator ready before you touch the undercarriage. Park the machine on a flat surface. Lower the bucket to the ground. Turn off the engine and remove the key. Place blocks behind the tracks to stop the machine from moving.
Lift the excavator with a strong jack or lift. Make sure the machine stays stable. Remove the left rear covers to expose the track drive components. Clean dirt and mud from the undercarriage with a brush. This helps you see worn parts and makes removal easier.
Drain the hydraulic oil into the pan. Disconnect the hydraulic hoses using the right tool. Wipe away any oil or dirt from the connections. Inspect the seals and bearings for damage. Replace any part that looks worn or cracked. Careful preparation helps you avoid mistakes and keeps your mini excavator running well.
Access & Removal
Accessing Track Drive
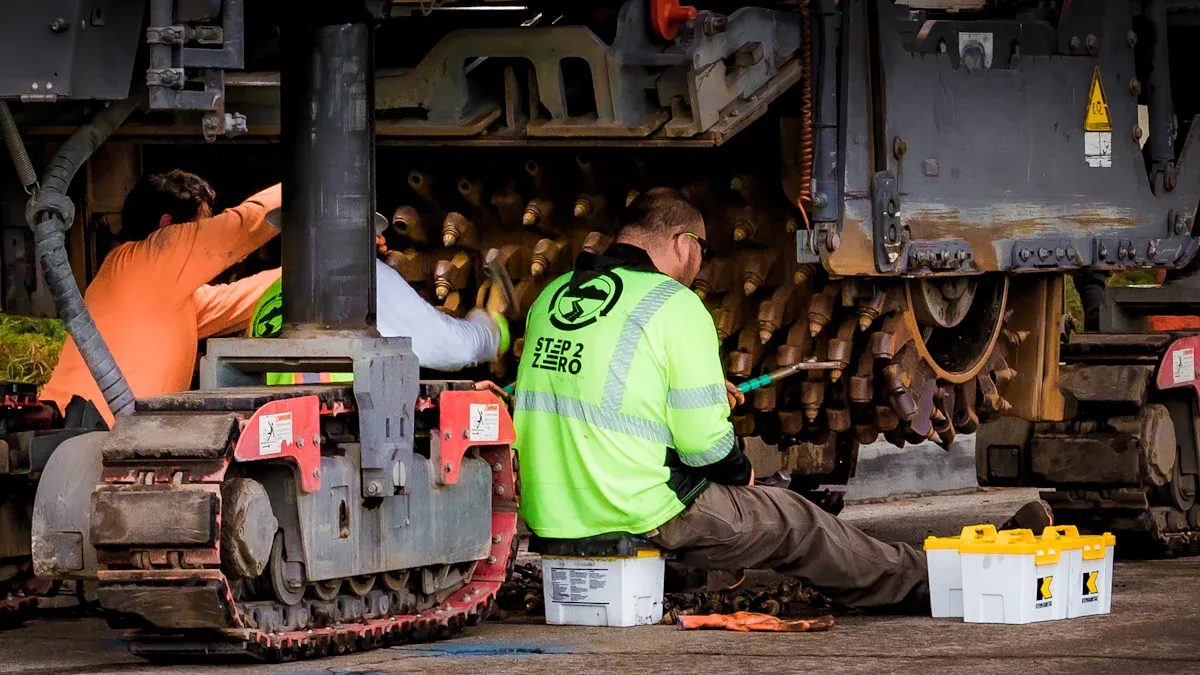
You need to reach the final drive and travel motor before you can start any repair. Begin by making sure the machine is stable and safe. Remove the left rear covers. These covers protect the drive system and let you see the main parts. Use your wrenches to take off the bolts that hold the covers in place. Set the bolts aside so you do not lose them.
Next, look for the hydraulic hoses that connect to the final drive. Use the hydraulic hose disconnect tools to remove these hoses. Place a drain pan under the hoses to catch any oil that leaks out. Wipe the area clean with a rag. This helps you see the connections and keeps dirt out of the system.
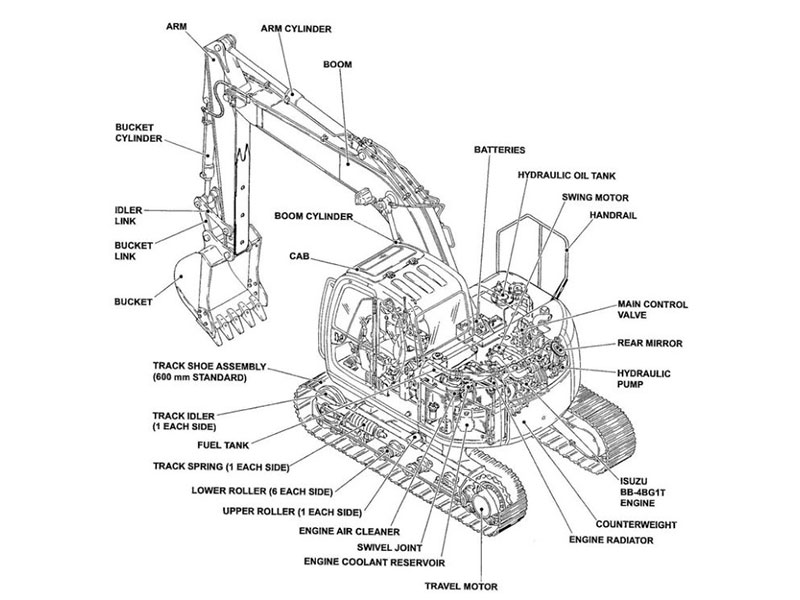
Now you can access the final drive and travel motor. You will see the drive sprocket, idler, rollers, and rubber track. Check each part for signs of wear or damage. Look for oil leaks around the seal. A leaking seal can cause oil loss and lead to drive failure. If you see dirt or oil buildup, clean the area before you move to the next step.
Tip: Take photos of the drive assembly before you remove any parts. These photos help you remember how to put everything back together.
Removing Old Parts
You must remove the worn parts before you can install new ones. Follow these steps to take out the final drive and travel motor:
Remove the plug and O-ring seal from the final drive.
Take out the spring and washer.
Pull out the spool.
Repeat these steps on the opposite side of the drive.
Remove the bolts and head assembly.
Take out the bearing.
Remove the port plate.
Take out the barrel assembly.
Remove the pistons, retaining plate, and bearing.
Pull out the pins.
Use a press and the right tools to remove the retaining ring.
Take out the washers and spring.
Remove the O-ring seal and swashplate.
Take out the balls, pistons, and springs.
Remove the retaining ring and cover.
Take out the sun gear and carrier.
Use the right tools to remove the retaining ring.
Remove the washers and gears.
Use the right tools to remove the retaining ring.
Take out the sun gear.
Use the right tools to remove the retaining rings.
Use the right tools to remove the retaining ring.
Use the right tools to remove the gear assembly.
Use the right tools to remove the retaining ring.
Use the right tools to remove the housing.
Remove the Duo-cone seal group and ring.
Use the right tools to remove the retaining ring.
Take out the bearing.
Remove the Duo-cone seal group.
Take out the shaft and bearing.
Remove the bearing from the shaft.
Remove the seal.
You need to use the correct tools for each step. Some parts, like springs, can release with force. Always wear safety gloves and goggles to protect yourself. The final drive contains many small parts. Keep them organized so you do not lose anything.
After you remove the final drive and travel motor, check the sprocket, rollers, idlers, and rubber track. Use a pry bar to slide the rubber track off the sprocket and idler. Remove the bolts that hold the sprocket in place. Take out the worn sprocket. Rollers and idlers may have bolts or pins that you need to remove. Pull out each part and inspect it for wear or cracks.
Note: If you see a damaged seal or signs of oil around the final drive, replace the seal before you install new parts. A good seal prevents leaks and protects the drive from early failure.
You can now prepare for the next step: installing new parts. Careful removal helps you avoid mistakes and makes the repair process smoother.
Installation
Cat track drive installation
You can install new 302.5 cat mini excavator track drive parts with the right steps. Start by checking that you have all the final drive components ready. Use original Caterpillar parts for the best fit and durability. These parts last longer and help your machine work better.
Follow these steps to install the final drive and related parts:
Place the excavator on level ground. Lower the bucket and turn off the engine.
Clean the mounting area for the final drive. Remove any dirt or old grease.
Position the final drive assembly. Use a hydraulic jack or lift to hold it steady.
Align the bolt holes on the final drive with the frame. Insert bolts by hand to avoid cross-threading.
Tighten the bolts with a torque wrench. Follow the torque settings in your operator’s manual.
Connect the hydraulic hoses to the final drive. Use the correct fittings and check for leaks.
Install the drive sprocket, idlers, and rollers. Make sure each part fits snugly.
Slide the rubber track over the sprocket and rollers. Use lifting equipment if needed.
Check that all parts are secure. Inspect seals and bearings for proper placement.
Tip: Using original Caterpillar track drive parts gives you better traction, less wear, and longer service life. These parts have tough rubber compounds and steel belts that resist cracking and punctures.
You get more benefits with original cat parts. They fit your 302.5 cat mini excavator track drive parts perfectly. You also get a warranty, better ride control, and less noise. Your machine works well on mud, hills, and sensitive surfaces. You spend less on repairs and keep your excavator running longer.
Part | OEM Benefits | Aftermarket Risks |
|---|---|---|
Rubber Tracks | Strong, durable, quiet | May crack or wear faster |
Sprockets & Rollers | Perfect fit, less vibration | Possible misalignment |
Seals & Bearings | Leak-resistant, long life | May fail sooner |
Alignment & Tension
You must align and tension the tracks after installing the final drive and other parts. Proper alignment keeps your excavator moving smoothly. Correct tension stops the track from slipping or wearing out too fast.
Follow these steps to align and tension the tracks:
Park the excavator on level ground. Make sure the machine is stable.
Release grease from the track adjuster valve. This relieves track tension.
Use lifting equipment to position the rubber track over the sprockets and rollers.
Measure the sag between the top rollers. For the Cat 302.5, the sag should be 25 to 40 mm.
Pump grease into the track adjuster valve with a grease gun to tighten the track. Release grease to loosen it.
Check the tension by prying the track. It should lift about 5–7 cm. If it is too tight or too loose, adjust again.
Inspect the adjuster valve for leaks. Leaks can cause loss of tension and more wear.
Operate the machine for one hour under job site conditions. Re-check and fine-tune the track tension.
Note: Always wear OSHA-approved gloves and use the right tools like hydraulic jacks, torque wrenches, and grease guns. Grease is under high pressure and can be dangerous.
You need to align the tracks carefully. Position the cab and boom so you can see the tracks. Push down on the bucket to lift the track off the ground. Rotate the track to remove dirt and debris. Loosen the binding links to adjust the track. Measure the slack from the bottom of the frame to the top of the track shoe. Compare your measurement to the operator’s manual.
Proper alignment and tension help your 302.5 cat mini excavator track drive parts last longer. You get smoother movement and less stress on the final drive, idlers, and rollers. Your machine works better and you avoid costly repairs.
Testing & Troubleshooting
Reassembly & Test
When you finish putting in new track drive parts, you must put your Cat 302.5 mini excavator back together. Put all the covers and guards back on the machine. Check every bolt and fitting to make sure they are tight. Make sure each seal is in place so oil does not leak. Fill the hydraulic system with clean oil. This keeps dirt out and helps the final drive work well.
Now it is time to test your machine. First, look at the excavator closely. Check for leaking gear oil or a bad floating face seal. Look for oil near the final drive or under the machine. Next, do these tests to make sure everything works right:
Test Type | Purpose/Description |
|---|---|
Travel on Level Ground Test | Make sure the travel motor and track drive work on flat ground. |
Visual Inspection | Look for leaks, check if parts are installed right, and see if anything looks wrong. |
Pressure Checks | Use tools to measure hydraulic pressure in the travel motors and valves. |
Relief Valve Test and Adjust | Check and set the pressure relief valves for the main, line, and pilot circuits. |
Operational Checks | Test how the travel motor and parking brake work. |
Swing Speed and Drift Checks | See how the swing system works on flat ground and slopes. This shows if the hydraulics are good. |
You should also drive the excavator forward and backward on a flat 100-foot path. If the machine moves more than four feet to the side, there may be a hydraulic problem or the tracks are not lined up right. Use a pressure gauge to check the two-speed control line. These steps help you find problems early and stop the final drive from breaking.
Tip: Always listen for strange noises and watch for slow movement. These can warn you about a bad floating face seal or other problems.
Common Issues
After fixing the track drive, you might see some common problems. Oil or hydraulic fluid leaks often come from a worn seal or a broken floating face seal. Main bearing failure, worn gear teeth, and leaking gear oil can also cause trouble. If the machine moves slowly or feels weak, check for dirt or metal in the hydraulic system.
To find a leak, first look at the hydraulic filters for metal pieces. This can show if a pump or part is broken. Use a pressure gauge to test the hydraulic line pressure. Change the filters and check for leaks inside or a bad spool valve. If you hear swirling sounds when the engine is slow, there may be a leak or a bad O-ring.
The drive can lock up if the pump drive coupling breaks or if the pilot safety lever lockout does not work. Check all fuses, relays, and wires. Test the two-speed tram solenoid and its connectors. Fix any wiring problems and change the solenoid if it is bad.
Preventing damage from broken face seals is part of good final drive care. Checking and fixing things often helps you avoid big repairs and keeps your machine working well.
You can help your Cat 302.5 mini excavator work well if you follow these steps. Change old track drive parts when needed. Use original Caterpillar parts for the best fit. Always wear safety gear to stay safe. Check your machine often so you find problems early.
Look at the track tension every 50 hours and fix it if needed.
Change the oil in the propel drive gearbox every 1,000 hours.
Doing regular maintenance stops breakdowns and saves you money. Good habits keep you safe and protect your machine.
FAQ
How often should you check track tension on your Cat 302.5 mini excavator?
You should check track tension every 50 hours of use. Proper tension helps your tracks last longer and keeps your excavator running smoothly.
Can you use aftermarket parts for track drive repairs?
You can use aftermarket parts. Some brands offer good quality and warranties. Always check the seller’s reputation and compare with original Caterpillar parts for best fit and durability.
What safety gear do you need for track drive replacement?
Wear safety gloves, goggles, and steel-toed boots. Use a hard hat if you work under the machine. Hearing protection helps in noisy areas.
Why does your track drive leak oil after replacement?
A leaking track drive often means a seal is damaged or installed wrong. Check all seals and replace any that look worn or cracked. Clean the area before installing new parts.
What tools help you remove hydraulic hoses safely?
Hydraulic hose disconnect tools help you remove hoses without damage. Always use an oil drain pan to catch fluid and keep your work area clean.
