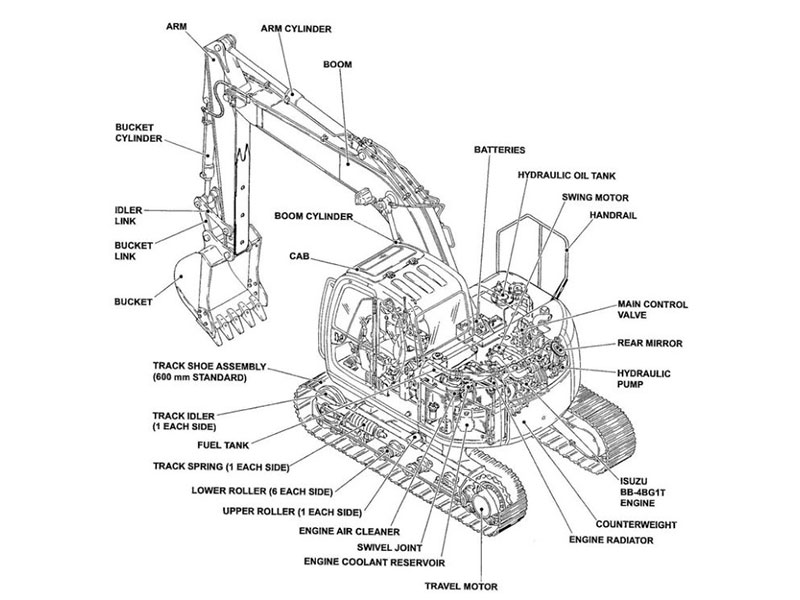

Maintaining your excavator’s performance starts with proper care of its critical components. One often overlooked yet essential task is checking and changing the excavator final drive oil. This oil plays a vital role in cooling, cleaning, and lubricating the gears, ensuring smooth operation. Neglecting this simple maintenance step can lead to contamination, wear, or even catastrophic failure. Regular inspections help you spot issues like metallic debris or low oil levels before they escalate. By staying proactive, you not only extend the life of your equipment but also save on costly repairs and downtime.
Key Takeaways
Regularly check and change your excavator’s final drive oil to prevent costly repairs and extend equipment life.
Gather the right tools and materials, including a socket wrench set, oil drain pan, and recommended gear oil, to streamline the maintenance process.
Inspect the oil level and condition every 100 operating hours to catch potential issues early, such as low levels or contamination.
Always use the correct type and viscosity of oil as specified in your excavator’s manual to ensure optimal performance.
Avoid overfilling the final drive to prevent pressure buildup and potential leaks; fill only to the recommended level.
Create a maintenance schedule to stay consistent with oil checks and changes, reducing the risk of overlooking this critical task.
Wear appropriate safety gear, including gloves and safety glasses, to protect yourself during maintenance tasks.
Tools and Materials Needed for Excavator Final Drive Oil Maintenance

Proper preparation ensures a smooth and efficient maintenance process. Gathering the right tools, materials, and safety gear beforehand saves time and reduces the risk of errors. Below is a detailed breakdown of what you need to maintain your excavator final drive oil effectively.
Essential Tools
Having the correct tools is crucial for accessing and servicing the final drive. Here’s what you’ll need:
Socket Wrench Set: Use this to remove the inspection and drain plugs with ease. Ensure the set includes the correct sizes for your excavator model.
Oil Drain Pan: This catches the old oil during the draining process, preventing spills and keeping your workspace clean.
Torque Wrench: Use this to tighten the plugs to the manufacturer’s recommended specifications, avoiding over-tightening or under-tightening.
Funnel: A funnel helps you refill the oil without spilling, ensuring precision and cleanliness.
These tools streamline the process and help you complete the task efficiently.
Required Materials
Using the right materials guarantees optimal performance and protects your equipment. Here’s what you’ll need:
Recommended Gear Oil: Always consult your excavator’s manual to determine the correct type and viscosity. Common options include 80W-90 or SAE 50 fluids. Never mix different oil types or grades, as this can compromise the final drive’s performance.
Cleaning Cloths or Rags: These are essential for wiping away dirt, debris, and excess oil during the process.
Oil Disposal Container: Properly dispose of the used oil by transferring it to a sealed container. Take it to a recycling facility to comply with environmental regulations.
Using high-quality materials ensures the longevity of your excavator’s components.
Safety Gear
Safety should always be a priority when performing maintenance tasks. Equip yourself with the following:
Protective Gloves: These shield your hands from oil, dirt, and sharp edges, ensuring a safer working experience.
Safety Glasses: Protect your eyes from oil splashes or debris during the draining and refilling process.
Work Boots with Non-Slip Soles: These provide stability and prevent accidents in slippery conditions.
Wearing the appropriate safety gear minimizes risks and keeps you protected throughout the maintenance process.
Pro Tip: Warm up the excavator slightly before draining the oil. Warm oil flows more easily, making the process quicker and more effective.
By assembling these tools, materials, and safety gear, you set yourself up for a successful maintenance session. Proper preparation not only saves time but also ensures the job is done correctly.
How to Check Excavator Final Drive Oil
Regularly checking the oil in your excavator’s final drive is a simple yet vital task. It ensures the longevity and efficiency of your equipment. Follow these steps to inspect the oil properly and keep your excavator running smoothly.
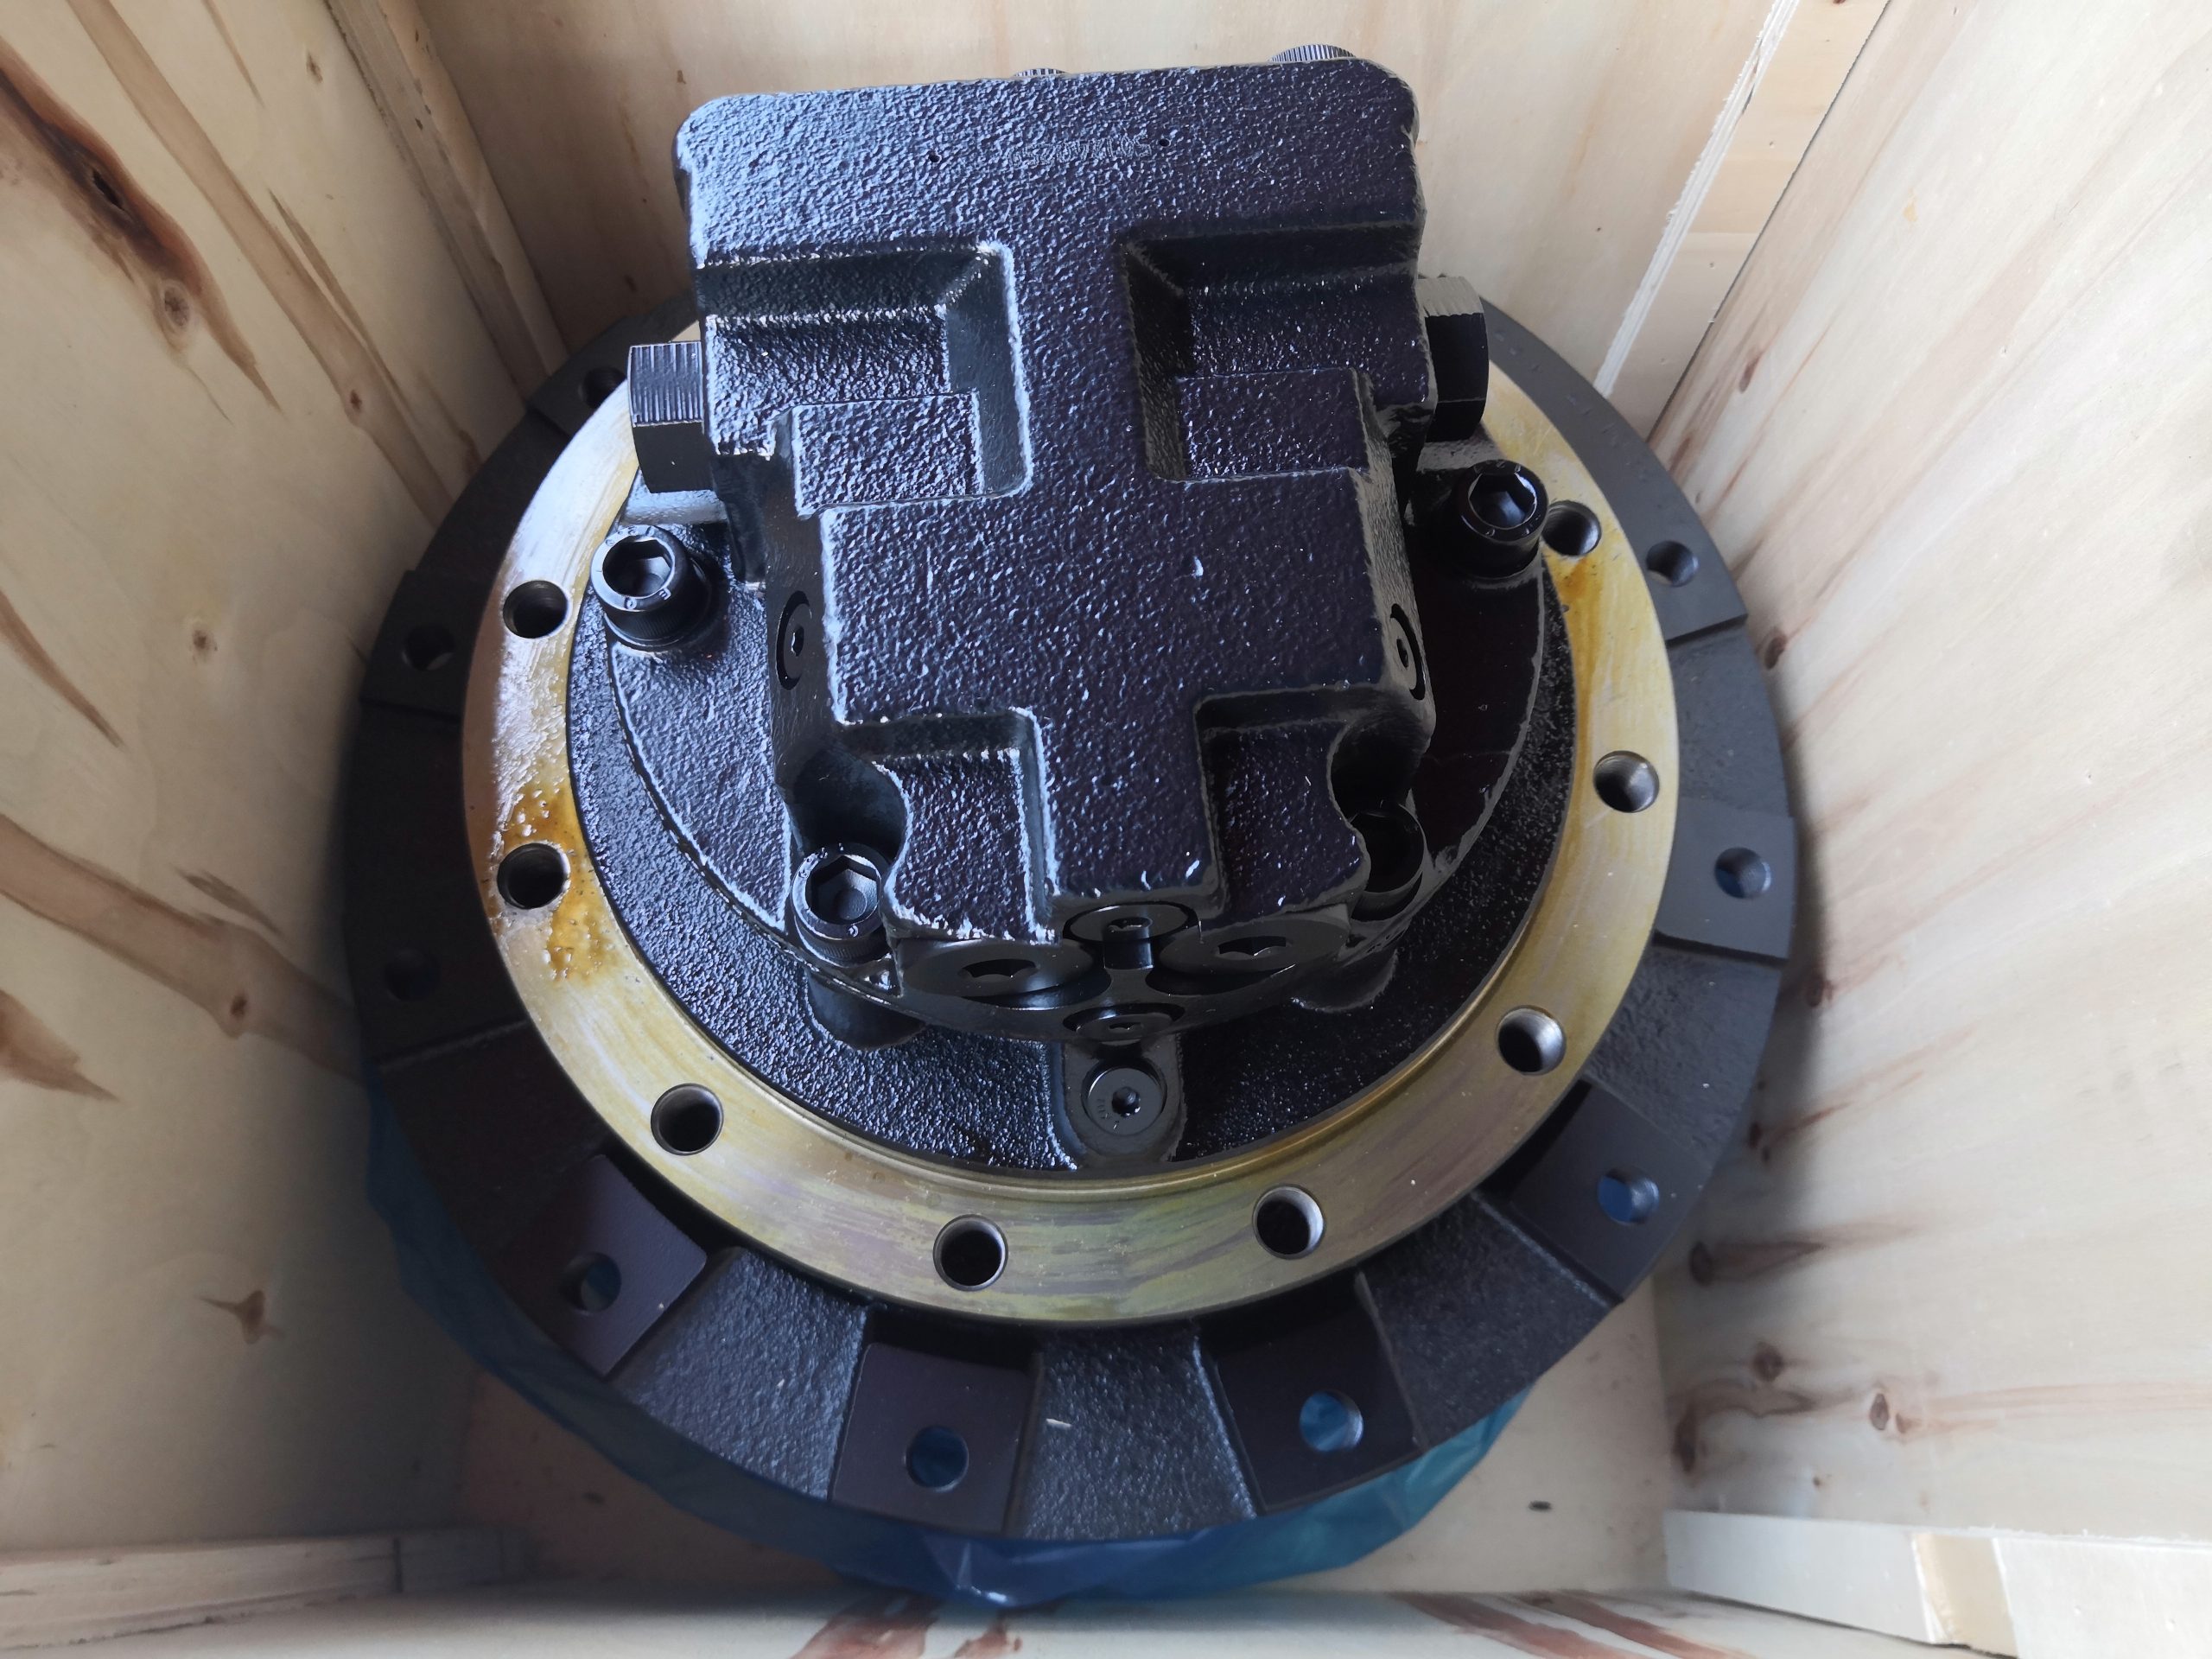
Locate the Inspection Plug
The first step is finding the inspection plug on the final drive assembly. This plug is typically located at the 3 o’clock or 9 o’clock position, depending on the orientation of the drive. Refer to your excavator’s manual for the exact location. Use a socket wrench to loosen and remove the plug carefully. Ensure the area around the plug is clean before removal to prevent dirt or debris from entering the system.
Tip: Cleaning the area around the plug with a cloth before removal reduces the risk of contamination.
Inspect the Oil Level
Once the plug is removed, check the oil level inside the final drive. The oil should be near the top of the opening. If the level is low, it indicates that additional oil is needed. Low oil levels can lead to increased wear and tear on the gears, potentially causing costly damage. Add oil through the opening until it reaches the recommended level. Always use the type of oil specified in your excavator’s manual to ensure optimal performance.
Important: Never overfill the final drive. Excess oil can cause pressure buildup, leading to leaks or other issues.
Assess Oil Condition
Inspecting the condition of the oil is just as important as checking its level. Look for signs of contamination, such as metallic particles or a milky appearance. Metallic debris may indicate internal wear, while a milky color suggests water contamination. Both are warning signs that require immediate attention. If the oil appears dirty or contaminated, it’s time to change it. Clean oil ensures the gears remain lubricated and protected, reducing the risk of damage.
Pro Tip: Regularly checking the oil’s condition helps you identify potential issues early, saving you from expensive repairs.
By following these steps, you can maintain the health of your excavator’s final drive. Consistent checks prevent failures, extend the life of your equipment, and ensure smooth operation.
How to Change Excavator Final Drive Oil

Changing the oil in your excavator’s final drive is a straightforward process that ensures the longevity and efficiency of your equipment. Follow these steps to complete the task effectively.
Drain the Old Oil
Start by positioning your excavator on level ground. This ensures accurate drainage and prevents uneven oil flow. Locate the drain plug, typically found at the bottom of the final drive assembly. Place an oil drain pan directly beneath the plug to catch the old oil. Use a socket wrench to carefully remove the plug. Allow the oil to drain completely. This step is crucial to eliminate contaminants like metallic debris or water, which can harm the gears.
Pro Tip: Warm up the excavator slightly before draining the oil. Warm oil flows more easily, making the process quicker and more thorough.
Inspect the drained oil for signs of contamination. Metallic particles may indicate gear wear, while a milky appearance suggests water intrusion. If you notice these issues, consult a professional for further inspection.
Clean the Area
Once the old oil has drained, clean the area around the drain and fill plugs. Use a clean cloth or rag to wipe away dirt, debris, and residual oil. This step prevents contaminants from entering the system during the refill process. Pay special attention to the threads of the plugs to ensure a secure seal when reinstalled.
Important: Avoid performing this task in muddy or rainy conditions. Water or dirt can easily enter the system, compromising the final drive’s performance.
If you must work outdoors, take precautions to keep the area clean. Use a tarp or cover to shield the work area from rain or mud.
Refill with New Oil
After cleaning, reinstall the drain plug securely using a torque wrench. Refer to your excavator’s manual for the recommended torque specifications. Next, locate the fill plug, usually positioned at the 3 o’clock or 9 o’clock position on the final drive. Remove the plug and use a funnel or pump to add the new oil. Fill the drive until the oil begins to seep out of the level check plug. This indicates the correct oil level.
Tip: Always use the type and viscosity of oil specified in your excavator’s manual. Common options include 80W-90 or SAE 50 fluids. Using the wrong oil can lead to performance issues or damage.
Once filled, reinstall the fill plug and tighten it to the recommended torque. Wipe away any excess oil to keep the area clean. Properly dispose of the used oil by transferring it to a sealed container and taking it to a recycling facility.
By following these steps, you ensure that your excavator’s final drive operates smoothly and efficiently. Regular oil changes prevent wear, reduce the risk of damage, and extend the life of your equipment.
Maintenance Tips for Excavator Final Drive Oil
Proper maintenance of your excavator’s final drive oil ensures smooth operation and prevents costly repairs. By following these tips, you can keep your equipment in excellent condition and extend its service life.
Frequency of Maintenance
Regular maintenance is essential to avoid issues like contamination, wear, or oil depletion. Check the oil level and condition every 100 operating hours or as recommended in your excavator’s manual. Frequent inspections help you identify problems early, such as low oil levels or metallic debris, which could indicate internal wear. Changing the oil every 1,000 operating hours ensures that the gears remain lubricated and free from harmful contaminants.
Tip: Create a maintenance schedule to track oil checks and changes. Staying consistent reduces the risk of overlooking this critical task.
Skipping regular maintenance can lead to faster wear of parts, final drive failure, and even damage to the hydraulic system. Consistent care keeps your excavator running efficiently and minimizes downtime.
Signs of Potential Issues
Recognizing early warning signs can save you from expensive repairs. Pay attention to these indicators during routine checks:
Low Oil Levels: If the oil level drops frequently, it may signal a leak in the system. Address leaks immediately to prevent further damage.
Metallic Debris in Oil: Metallic particles in the oil suggest gear wear. This issue requires immediate attention to avoid permanent damage.
Milky or Discolored Oil: A milky appearance indicates water contamination, while dark or thick oil suggests dirt or debris. Both conditions reduce lubrication and harm the final drive.
Pro Tip: Always inspect the drained oil during changes. Identifying contaminants early helps you address potential problems before they escalate.
Ignoring these signs can lead to severe damage, including complete final drive failure. Regular monitoring ensures your excavator operates at peak performance.
Prolonging Final Drive Life
Taking proactive steps can significantly extend the life of your excavator’s final drive. Follow these practices to maximize durability:
Use the Correct Oil: Always use the type and viscosity specified in your excavator’s manual. Incorrect oil can compromise performance and cause damage.
Avoid Overfilling: Overfilling creates pressure buildup, leading to leaks or seal damage. Fill the oil only to the recommended level.
Keep the Area Clean: Dirt and debris can enter the system during maintenance. Clean the area around plugs before removing them to prevent contamination.
Monitor Operating Conditions: Avoid working in muddy or wet environments whenever possible. Excess moisture increases the risk of water contamination in the oil.
Important: Warm up the excavator slightly before draining the oil. Warm oil flows more easily, ensuring thorough drainage and reducing contaminants.
By following these tips, you can protect your excavator’s final drive from unnecessary wear and tear. Regular care not only prolongs the life of the final drive but also enhances the overall efficiency of your equipment.
Common Mistakes to Avoid When Handling Excavator Final Drive Oil
Mistakes during maintenance can lead to costly repairs and reduced efficiency. Avoiding these common errors ensures your excavator operates smoothly and prolongs the life of its components.
Overfilling the Final Drive
Adding too much oil to the final drive may seem harmless, but it can cause significant problems. Overfilling creates excessive pressure inside the system, which can damage seals and lead to leaks. Leaks not only waste oil but also expose the gears to potential contamination. Always fill the oil to the level specified in your excavator’s manual. Use the inspection plug as a guide to ensure accuracy.
“Funny… all these years and this important topic has never come up that I am aware of… NOT FUNNY because a lot of times guys have come on here talking about their stripped-out plugs…” – Dennis
Lesson: Overfilling or improper handling of plugs can lead to serious issues. Take the time to do it right.
Precision matters when refilling oil. Avoid rushing through this step to prevent unnecessary damage.
Using the Wrong Type of Oil
Using the incorrect oil type or viscosity can compromise the performance of your excavator’s final drive. The wrong oil may fail to provide adequate lubrication, leading to increased wear and tear on the gears. Always consult your excavator’s manual to determine the recommended oil type. Common options include 80W-90 or SAE 50 fluids. Mixing different oil types or grades can also reduce effectiveness and harm the system.
Pro Tip: Stick to the manufacturer’s recommendations. Using high-quality oil ensures optimal performance and protects your equipment.
Neglecting this detail can result in costly repairs or even complete final drive failure. Choose the right oil to keep your excavator running efficiently.
Skipping Regular Maintenance
Skipping regular maintenance is one of the most common mistakes operators make. Neglecting to check or change the oil allows contaminants like dirt, water, or metallic debris to accumulate. These contaminants can damage the gears and reduce the lifespan of the final drive. Regular maintenance helps you identify potential issues early, such as low oil levels or signs of wear.
“Regular maintenance is essential, so make it a habit to check your oil levels.”
Key Takeaway: Consistent care prevents failures and extends the life of your equipment.
Create a maintenance schedule to stay on track. Check the oil every 100 operating hours and change it every 1,000 hours or as recommended in your manual. Staying proactive saves you from expensive repairs and downtime.
By avoiding these mistakes, you protect your excavator’s final drive from unnecessary damage. Proper handling of excavator final drive oil ensures smooth operation and maximizes the efficiency of your equipment.
Regular maintenance of excavator final drive oil keeps your equipment running efficiently and prevents costly breakdowns. By following the outlined steps, you can identify potential issues early, saving both time and money. Consistent care ensures the gears remain lubricated and free from harmful contaminants. This proactive approach not only extends the life of your excavator but also minimizes downtime. Prioritize this essential task to maintain smooth operations and protect your investment.