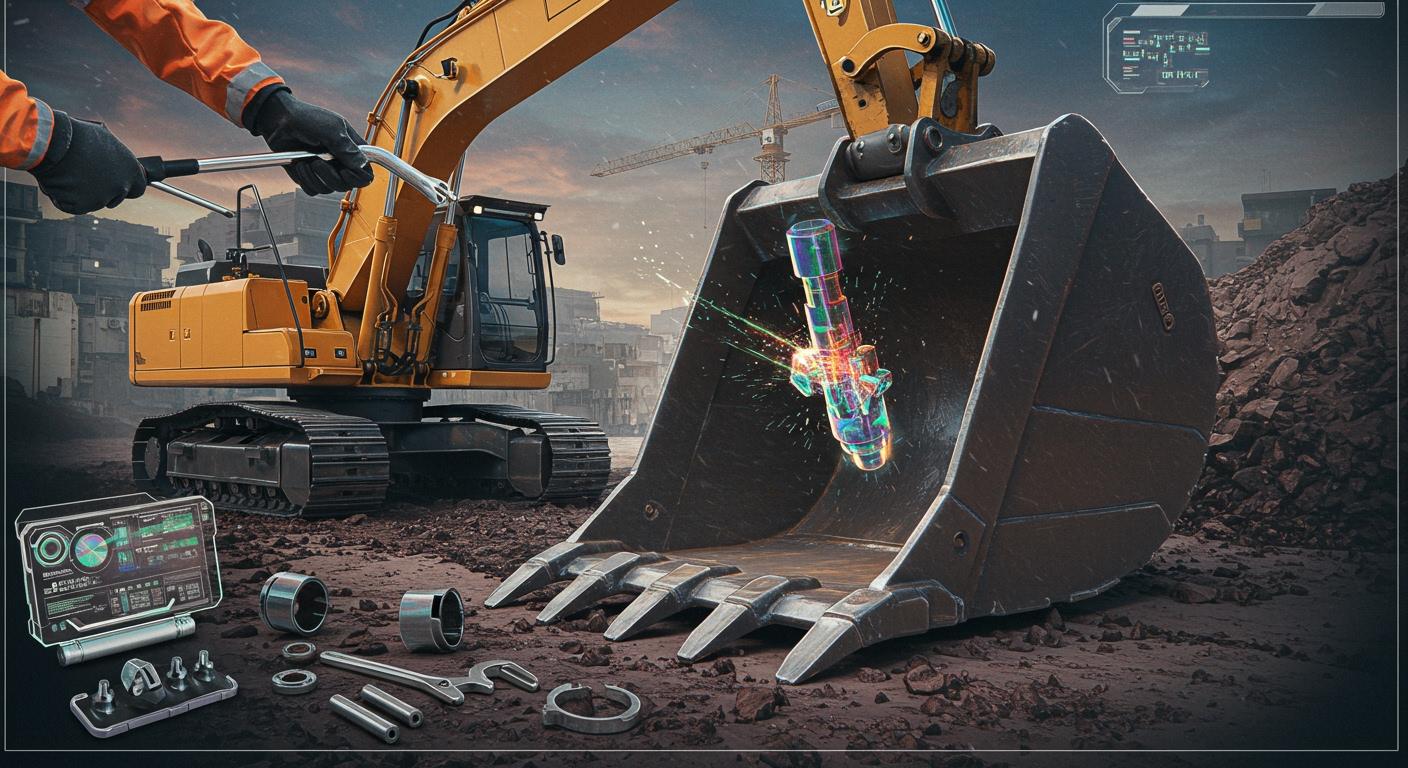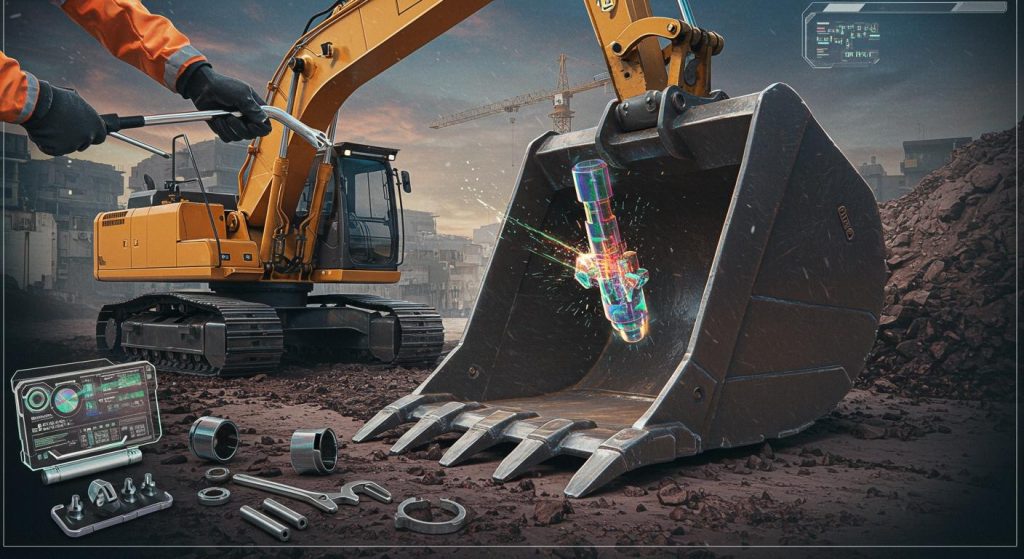
You can replace your bobcat bucket teeth by following a few simple steps. First, remove the safety pins and use a pin removal tool. Clean the shanks before installing new teeth and reinserting the roll pins. Watch out for these common issues:
Delayed replacement of worn teeth can lower digging power.
Ignoring loose or noisy teeth might damage the pin or the bobcat excavator bucket parts.
Waiting too long may increase repair costs.
Stay safe and check your equipment often to keep it running strong.
Key Takeaways
Check your Bobcat bucket teeth often. Do this every 250 to 500 hours. This helps you find wear and damage early.
Always use new roll pins when you put on new teeth. This keeps the teeth tight and helps stop accidents.
Clean the shank very well before you put on new teeth. This helps the teeth fit better and last longer.
Use the right kind and size of teeth for your digging job. This helps you avoid problems when working.
Make your work area safe before you start. Gather all the tools you need before you begin changing the teeth.
Identify Teeth
Check Type and Size
When you start replacing teeth on your bobcat bucket, you need to figure out the right type and size. If you use the wrong teeth, you can run into problems like wobbly buckets or even damage to your bobcat excavator bucket parts. You want to match the teeth to your digging job. Here’s a quick guide to help you choose:
Bucket Tooth Type | Suitable Applications | Characteristics |
|---|---|---|
Chisel Teeth | Soil or sandy terrain | Medium penetration |
Rock Teeth | Pebbles, gravel, stone, ore | Medium penetration |
Tiger Teeth | Coal mining, fine sand, clay | Most penetration in fine materials |
If you work in rocky areas, rock teeth made from high-strength alloy materials will last longer. For demolition, you need teeth with high impact resistance. Always check the size stamped on your old bobcat bucket teeth before ordering new ones. YNF Machinery offers replacement teeth that fit most bobcat bucket models, so you can trust their parts to keep your machine working smoothly.
Tip: Using the wrong teeth can cause increased wear and tear, operational inefficiencies, and even damage your hydraulic system. Always double-check the specs before you buy.
Inspect Bobcat Excavator Bucket Parts
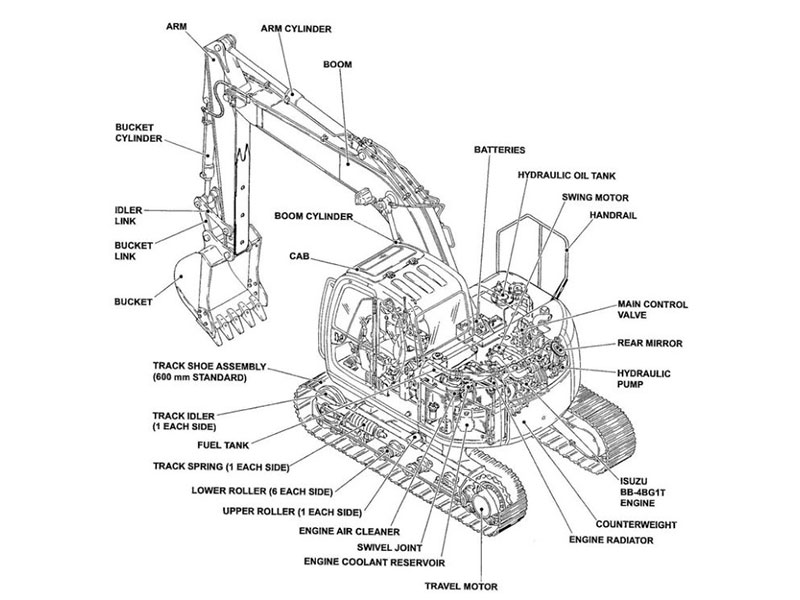
Before you install new teeth, take a close look at your bobcat excavator bucket parts. You want to spot any signs of wear or damage early. Here’s what you should check:
Look for excessive wear. If your bobcat bucket teeth have lost 40% of their original length, it’s time to replace them.
Notice any reduced performance. If your bobcat bucket isn’t digging as well as before, worn parts might be the reason.
Listen for increased noise or vibration. Strange sounds can mean your bobcat excavator bucket parts need attention.
Check for visible damage. Cracks or breaks around attachment points are a big warning sign.
Note: Side cutter wear should extend at least 1-2 inches beyond the bucket shell when new. Inspect all high-stress areas for cracks.
If you see any of these issues, don’t wait. Replacing worn bobcat bucket teeth and damaged bobcat excavator bucket parts right away helps you avoid bigger problems and keeps your machine safe.
Tools and Safety
Gather Tools
Before you start working on your bobcat bucket, you need to get your tools ready. You want to make sure you have everything you need so you don’t have to stop in the middle of the job. Here’s a quick checklist for you:
Wrenches that fit your bobcat bucket bolts
Pin removal tool for taking out old pins
Hammer for loosening stuck parts
Roll pins for installing new teeth
Wire brush for cleaning the shank
Personal protective equipment (PPE): gloves, safety glasses, steel-capped boots
Safety tip: Always wear your PPE when working with heavy equipment. You never know when a pin might slip or a piece of metal could fly up.
You can find quality replacement parts and tools for your bobcat bucket at YNF Machinery. They offer reliable products that help you get the job done right.
Prepare Work Area
You want your work area to be safe and organized before you start replacing teeth on your bobcat bucket. Set the bucket on a level surface so it doesn’t move while you work. Make sure the bucket is empty and parallel to the ground. This helps prevent accidents and gives you better access to the teeth.
Perform a risk assessment to spot hazards and plan how to avoid them.
Follow a lockout procedure so the machine can’t start while you’re working.
Watch out for risks like crushing, pinching, or hurting your muscles.
Note: A clean and stable work area makes the whole process easier and safer. You’ll spend less time worrying and more time getting your bobcat bucket ready for action.
If you follow these steps, you’ll protect yourself and keep your bobcat bucket in top shape. YNF Machinery can supply you with the right tools and parts for every step of the job.
Remove Teeth
Remove Safety Pins
You want to start the removal of teeth by taking out the safety pins. These pins hold the bucket teeth in place, so you need to get them out before anything else. Here’s how you can do it:
Grab an 8-inch long, tapered punch. This tool helps you drive the retaining devices outward with less effort.
Spray a penetrating product like PB Blaster around the retaining pins. Let it soak for about 15 minutes. This step loosens up any rust and makes the removal of teeth easier.
Use a pin punch that’s about 5-6 inches long. Pair it with a 3-pound hammer for striking. This combo gives you enough force without damaging the bucket.
Always check for a rubber lock. Remove it before you try to take out the pin.
Work slowly and carefully. Rushing can bend the pin or damage the bucket shank.
Tip: If you notice resistance, don’t force it. Let the penetrating spray do its job. You’ll save time and avoid breaking parts.
YNF Machinery supplies quality pin removal tools and replacement pins. Their products help you complete the removal of teeth safely and efficiently.
Use Pin Removal Tool
After you remove the safety pins, you need to use a pin removal tool for the next step in the removal of teeth. This tool is designed to fit the pins and shanks on your Bobcat excavator bucket. Here’s what you should do:
Position the pin removal tool directly over the pin.
Strike the tool with a hammer. Use steady, controlled hits to push the pin out.
Check the alignment. If the tool slips, reposition it and try again.
Once the pin comes loose, pull it out and set it aside.
Note: Always wear gloves and safety glasses during the removal of teeth. Metal fragments can fly off when you strike the pin removal tool.
If you need a reliable pin removal tool, YNF Machinery offers options that fit most Bobcat buckets. Their tools make the removal of teeth much smoother.
Handle Stuck Pins
Sometimes, pins get stuck during the removal of teeth. Rust, dirt, or old damage can make them hard to move. Don’t worry—there are ways to handle this problem:
Spray penetrating fluid around the stuck pin. Wait for it to soak in and loosen the rust.
Apply heat to the area. A heat gun or torch can expand the metal and break the bond holding the pin.
Use mechanical force. A demolition hammer gives you extra power for stubborn pins.
Tap gently at first. If the pin doesn’t budge, increase the force slowly.
If the pin still won’t move, repeat the penetrating fluid and heat steps.
⚠️ Safety Alert: Never use excessive force right away. You could damage the bucket or hurt yourself. Take your time and use the right tools.
YNF Machinery can help you with replacement pins and tools for the removal of teeth. Their products are built to handle tough jobs and keep your Bobcat running strong.
Clean Shank
Remove Dirt and Debris
You want your new bucket teeth to last as long as possible. That starts with a clean shank. Dirt, mud, and old debris can build up around the shank and make it hard for new teeth to fit right. If you skip this step, you might end up with loose teeth or even damage to your Bobcat bucket.
Grab a wire brush and start scrubbing the shank. Knock off any dried mud or packed-in dirt. If you see any rust, use a rust remover or a little sandpaper to clean it up. Sometimes, a putty knife helps scrape off stubborn bits. Make sure you get into all the corners and edges.
Here’s why cleaning the shank matters:
You keep your excavator bucket clean and free from debris, which is key for good maintenance.
Regular cleaning helps you spot early signs of wear or damage that might hide under dirt.
A clean shank gives new teeth a better grip, so they stay tight and last longer.
Tip: Don’t rush this step. A few extra minutes cleaning now can save you hours of repairs later.
YNF Machinery offers quality wire brushes and cleaning tools that make this job easier. Their products help you get a perfect fit for your new bucket teeth.
Inspect for Damage
After you clean the shank, take a close look at it. You want to find any cracks, bends, or worn spots before you put on new teeth. If you miss damage now, you might have trouble later. Damaged shanks can cause new teeth to wear out faster or even fall off during work.
Check for these signs:
Cracks along the shank or around the pin holes
Bent or twisted metal
Deep grooves or pitting from rust
If you spot any of these problems, fix them before you move on. Sometimes, you can smooth out small rough spots with a file. For bigger issues, you might need to replace the shank. YNF Machinery supplies replacement parts that fit most Bobcat buckets, so you can keep your machine running strong.
Safety reminder: Always wear gloves when inspecting metal parts. Sharp edges can cut your hands.
By cleaning and inspecting the shank, you set yourself up for a smooth installation and longer-lasting bucket teeth.
Install Teeth
Align New Teeth
Now that you finished the removal of teeth, you can start putting on the new ones. This part is all about getting the right fit. If you rush, you might end up with loose or crooked teeth. Here’s how you can line things up the right way:
Slide each new tooth onto the shank. Make sure the tooth sits flat and snug. If you feel resistance, check for leftover dirt from the removal of teeth.
Line up the pinhole on the tooth with the hole on the shank. You want both holes to match up perfectly. If they don’t, wiggle the tooth gently until they do.
Double-check your work. If the tooth looks off-center, remove it and try again. A good fit now means fewer problems later.
Tip: If you have trouble sliding the tooth on, check for debris or damage left behind after the removal of teeth. Cleaning the shank again can help.
Insert Roll Pins
Once you have the new teeth in place, it’s time to secure them. The roll pins hold everything together. If you skip this step or rush it, the teeth might fall off during digging. Here’s what you need to do:
Grab a new roll pin. Never reuse an old one from the removal of teeth. Old pins can be bent or weak.
Push the roll pin through the aligned holes. You might need to tap it with a hammer to get it started.
Keep tapping until the pin sits flush with the tooth. If the pin sticks out, it could catch on rocks or dirt.
Check that the pin feels tight. If it moves, remove it and try again with a new pin.
Note: Always use new pins after the removal of teeth. Old pins can break and cause the teeth to come loose.
Check Fit
You’re almost done! Before you call it a day, make sure everything fits just right. A quick check now can save you a lot of trouble later. Here’s what you should look for:
Wiggle each tooth by hand. If it moves, the pin might not be in all the way. Remove the tooth and repeat the steps if needed.
Look for gaps between the tooth and the shank. If you see any, take the tooth off and clean the area again. Sometimes, dirt from the removal of teeth hides in small spaces.
Spin the bucket slowly and watch the teeth. They should all point in the same direction and sit at the same angle.
Here’s a table of common mistakes people make when installing new teeth and how you can avoid them:
Mistake | Explanation |
|---|---|
Ignoring model matching | Using the wrong model can make the teeth loose. They might fall off after the removal of teeth. |
Continuing to use old pin shaft | Old pins from the removal of teeth can be bent. This makes the new teeth unstable. |
Incomplete installation | If you don’t push the teeth on all the way, they can loosen during digging. |
Not cleaning during installation | Dirt left after the removal of teeth can block the new pin and cause a bad fit. |
Safety reminder: Always double-check your work after the removal of teeth and before you use the excavator again. This keeps you safe and protects your machine.
If you need new bucket teeth, roll pins, or cleaning tools, YNF Machinery has you covered. Their parts fit most Bobcat buckets and help you finish the job right the first time.
You can keep your Bobcat excavator working its best by following these steps: stabilize the bucket, knock out old pins, clean the shank, fit new teeth, and secure them with fresh roll pins. Using genuine parts from YNF Machinery means you get tough alloy steel teeth with deep hardened surfaces and strict quality control:
Feature | Benefit |
|---|---|
Alloy Steel | Strong and long-lasting |
Hardness | Resists wear and tear |
Design | Fits perfectly every time |
Check your bucket teeth every 250 to 500 hours. Clean them after each use and look for cracks or uneven wear. Stay safe, use the right tools, and fix problems early for smooth digging every day.
FAQ
How often should I check my Bobcat bucket teeth?
You should inspect your bucket teeth every 250 to 500 hours of use. Look for cracks, wear, or loose pins. Regular checks help you catch problems early.
Tip: Clean your bucket teeth after each job for longer life.
What tools do I need to replace bucket teeth?
You need a pin removal tool, hammer, wire brush, wrenches, and new roll pins. Always wear gloves and safety glasses. These tools make the job safer and easier.
Can I reuse old roll pins when installing new teeth?
No, you should always use new roll pins. Old pins can bend or break, causing your teeth to loosen or fall off during work.
Old Pin Issue | Why Replace? |
|---|---|
Bent | Weak grip |
Rusty | Hard to install |
Worn | Unsafe fit |
Where can I buy replacement teeth and tools?
You can get quality bucket teeth, pins, and tools from YNF Machinery. They offer parts that fit most Bobcat buckets and provide reliable service.
What should I do if a pin gets stuck?
Spray penetrating fluid and wait. Tap gently with a hammer. If it still won’t move, apply heat. Take your time to avoid damaging your bucket or hurting yourself.


