Replacing parts on your John Deere 50D excavator requires precision and care to ensure safety and efficiency. You might face challenges like identifying adjacent john deere 50d excavator parts that need replacement or ensuring part availability during planned downtime. Addressing these issues early can save time and effort.
John Deere recommends using only genuine John Deere replacement parts to maintain machine performance. Non-genuine parts or modifications may compromise reliability and void warranties.
YNF Machinery offers high-quality john deere 50d excavator parts that meet these standards, ensuring your excavator operates smoothly and reliably.
Key Takeaways
Always use real John Deere parts to keep your excavator working well and avoid losing your warranty.
Keep your workspace tidy and neat to stop accidents and make repairs easier.
Wear safety gear like gloves and goggles to stay safe while fixing things.
Follow the maker’s instructions for replacing parts to make your machine last longer and avoid expensive fixes.
Check your machine often to make sure all parts, like hydraulic cylinders, are working right.
Preparation for Replacing John Deere 50D Excavator Parts
Gather Essential Tools and Equipment
Tools required for replacing excavator parts
Having the right tools ensures a smooth and efficient replacement process. Refer to the table below for essential tools you need when working on your John Deere 50D excavator:
Tool Type | Description |
|---|---|
Essential Tools | Identified in the manual for performing service work on the John Deere 50D. |
Service Equipment | Listed for various components requiring service instruction. |
Cleaning Kit | Available through the John Deere SERVICEGARD ™ Catalog. |
These tools help you inspect and replace components effectively, minimizing downtime and ensuring proper installation.
Recommended safety gear for maintenance tasks
Safety should always come first. Equip yourself with gloves, goggles, and steel-toe boots to protect against injuries. A hard hat and high-visibility vest are also recommended, especially if you’re working in a busy area. Wearing the right gear reduces risks and ensures a safer working environment.
Identify the Faulty Part
Steps to inspect and diagnose issues with excavator hydraulic cylinders and other components
To identify problems with the excavator hydraulic cylinder, follow these steps:
Avoid overloading the cylinder to prevent unnecessary stress.
Operate the machine smoothly to reduce strain on the hydraulic system.
Check for directional valve malfunctions and resolve them.
Inspect the hydraulic pump and primary valves for faults.
Tighten the piston and rod connection, replacing damaged seals if needed.
Adjust system pressure to meet specifications.
Investigate and fix the root cause of pressure loss.
These steps ensure you can diagnose and address issues effectively, keeping your excavator in top condition.
Tips for sourcing genuine John Deere 50D excavator parts from YNF Machinery
When sourcing parts, always choose genuine components to maintain performance. YNF Machinery offers high-quality John Deere 50D excavator parts, including hydraulic cylinder seal kits and couplings. Their parts meet OEM standards, ensuring compatibility and durability. Contact their support team for assistance in selecting the right parts for your machine.
Prepare the Work Area
Importance of a clean and organized workspace
A clean workspace prevents accidents and ensures efficiency. Regular cleaning removes contaminants that could lead to corrosion or blockages in the hydraulic system. Keeping the area organized also helps you locate tools and parts quickly, saving time during maintenance.
Setting up safety barriers and signs for accident prevention
Set up safety barriers to protect yourself and others during maintenance. Start by performing a risk assessment to identify potential hazards. Use guidelines like PAS 13 to determine the best barrier types for your workspace. Place clear signs to warn others about ongoing work, reducing the risk of accidents.
Step-by-Step Guide to Replacing Excavator Parts
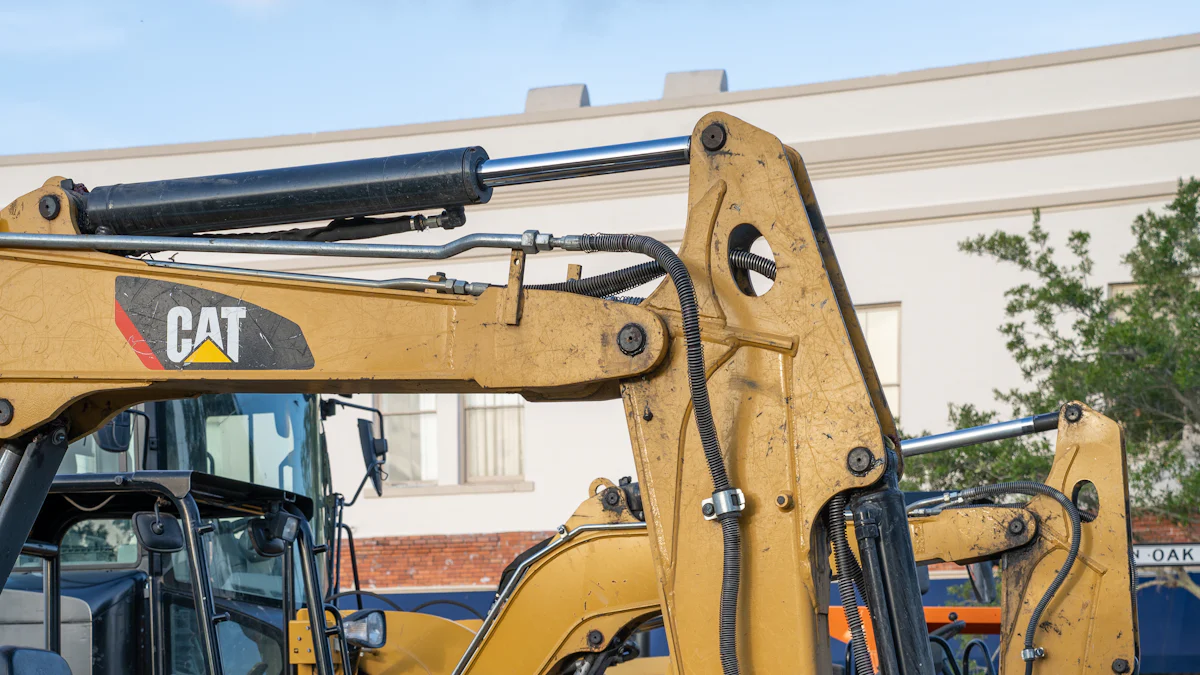
Disconnect Power and Secure the Excavator
How to safely turn off and stabilize the John Deere 50D excavator
Before starting any repair, you must disconnect the power and stabilize the excavator. Follow these steps to ensure safety:
Park the excavator on level ground. Avoid slopes, soft soil, or rocky surfaces to prevent slipping.
Lower the bucket to the ground and keep it slightly tilted for added stability.
Turn off the engine and remove the key to prevent accidental starts.
Engage the parking brake and block the tracks to keep the machine stationary.
Keep bystanders clear of the work area, especially when lifting heavy parts.
These precautions reduce risks and create a safe environment for hydraulic cylinder rebuilding or other maintenance tasks.
Remove the Damaged or Worn-Out Part
Proper techniques for detaching parts like excavator couplings and hydraulic components
Removing damaged parts requires careful disassembly to avoid further problems. Start by relieving hydraulic pressure to prevent sudden fluid releases. Use the following techniques:
Disconnect hoses slowly and inspect for leaks or worn fittings. Replace any damaged seals or hoses.
Use appropriate tools, such as wrenches, to loosen bolts without damaging the components.
Handle hydraulic cylinders with care, as improper removal can lead to alignment issues during reassembly.
Troubleshoot problems like fluid leaks or stuck components before proceeding with the repair.
These steps ensure a smooth disassembly process, minimizing delays caused by unexpected challenges.
Install the New Part
Aligning and securing the replacement part, such as hydraulic cylinder seal kits
Proper alignment is critical during reassembly to ensure the excavator functions correctly. Follow these steps:
Position the new part in the same location as the old one. Use the original bolts, nuts, and washers for installation.
Tighten all fasteners to the recommended torque settings to secure the part.
Check the alignment of the hydraulic cylinder and make adjustments as needed.
Start the engine and test the excavator for unusual noises or vibrations.
Perform a final inspection to confirm the repair was successful.
By following these steps, you can install the new part efficiently and avoid future problems. Regular maintenance, such as lubricating moving parts, will further enhance the machine’s performance.
Reconnect and Test the Excavator
Reconnecting power and hydraulic systems
Reconnecting the power and hydraulic systems is a critical step to ensure your excavator operates smoothly after replacing parts. Follow these steps to complete the process safely and effectively:
Depressurize the system completely to avoid sudden fluid releases.
Locate the hydraulic lines that connect to the attachment.
Use clean rags to catch any residual hydraulic fluid during disconnection.
Loosen the fittings carefully to prevent damage to the hydraulic lines.
Disconnect the lines and cap the ends to keep contaminants out.
Attach the hydraulic lines to the appropriate ports on the quick coupler.
Tighten the fittings securely, but avoid overtightening to prevent damage.
Power up the excavator and monitor the hydraulic system for any leaks or irregularities.
These steps ensure a clean and efficient reconnection process, minimizing the risk of contamination or system failure. Always double-check the connections before starting the machine to avoid potential issues.
Testing the functionality of the new part to ensure proper operation
Once the systems are reconnected, testing the excavator is essential to confirm the new part functions correctly. Begin by inspecting the hydraulic cylinders for leaks or misalignment. Operate the machine under normal conditions and observe its performance.
Pay attention to key indicators, such as track tension and the condition of rollers and sprockets. Check for structural damage, including cracks or welds, and inspect the bucket for wear on teeth and cutting edges. Test the hydraulic power by operating the machine under load, ensuring smooth and precise movements.
Verify that the steering and swinging respond promptly without unusual noises. Inspect the cab interior to confirm all controls function properly. Finally, check the exterior for visible damage and test the lights and electrical systems.
By conducting these tests, you can ensure the excavator operates efficiently and safely. Address any issues immediately to prevent further complications. Regular testing and maintenance will keep your machine in optimal condition.
Safety Tips for Replacing John Deere 50D Excavator Parts
Wear Appropriate Personal Protective Equipment (PPE)
Importance of gloves, goggles, and steel-toe boots
Wearing the right PPE protects you from injuries during part replacement. Gloves shield your hands from sharp edges and hot surfaces. Goggles prevent debris or hydraulic fluid from entering your eyes. Steel-toe boots protect your feet from heavy objects, such as falling tools or parts. These simple precautions reduce the risk of accidents and ensure a safer repair process.
Struck-by incidents are a leading cause of injuries in construction. Workers have been crushed by buckets falling from quick couplers. To prevent such problems, always stay clear of elevated loads and the excavator’s swing radius.
Follow Manufacturer and YNF Machinery Guidelines
Using the John Deere 50D service manual and YNF Machinery’s product instructions
Following manufacturer guidelines ensures your excavator operates efficiently and safely. The John Deere 50D service manual provides step-by-step instructions for part replacement. YNF Machinery’s product instructions help you install quality replacement parts correctly. These resources minimize unexpected breakdowns, prevent premature wear, and maintain your machine’s resale value.
Proper maintenance also keeps your excavator compliant with warranty requirements. By adhering to these guidelines, you enhance reliability and avoid costly repairs.
Avoid Common Mistakes
Ensuring proper torque when tightening bolts
Incorrect torque can lead to loose or overtightened bolts, causing operational problems. Use a torque wrench to tighten bolts to the manufacturer’s specifications. This ensures secure connections and prevents damage to components.
Double-checking connections to prevent leaks or malfunctions
Before restarting the excavator, inspect all connections. Loose hydraulic lines or improperly seated seals can cause leaks or system failures. Double-checking your work ensures the machine operates smoothly and avoids further repair needs.
Common mistakes, like awkward parking angles or failing to lower the blade, can complicate repairs. Always park on level ground and follow proper shutdown procedures. Keeping an inventory of commonly worn parts, such as seals and gaskets, helps you address minor problems quickly and avoid downtime.
Post-Replacement Checks and Maintenance
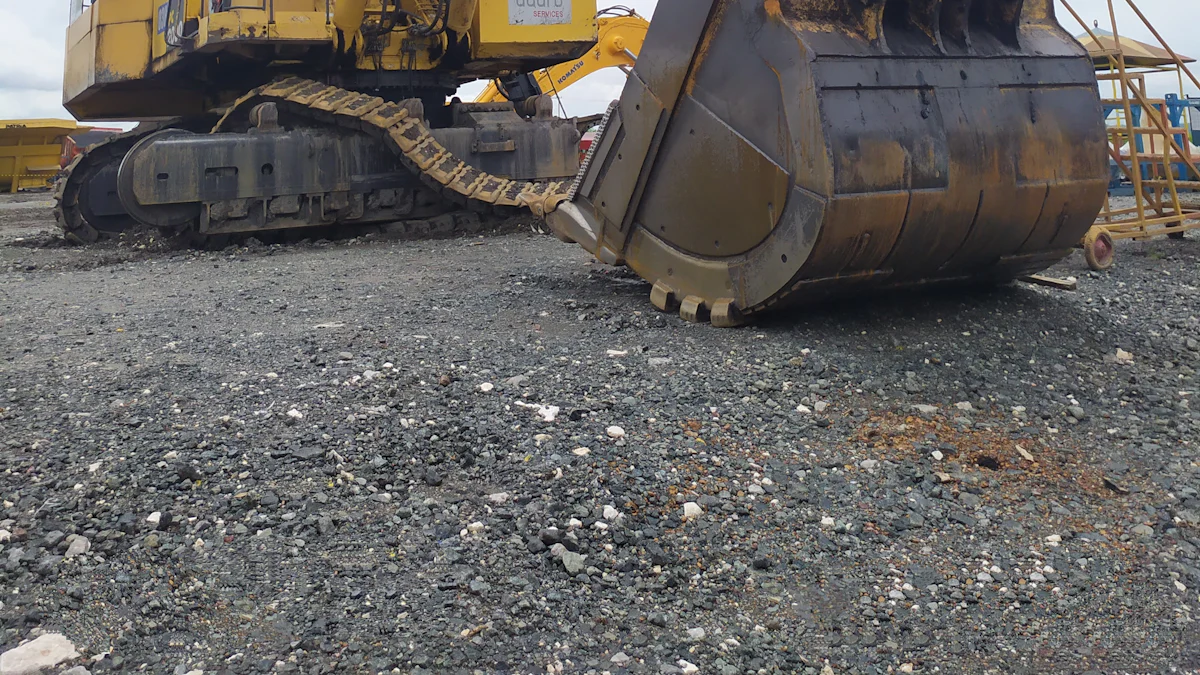
Inspect the Installed Part
Verifying alignment and secure installation of parts like excavator engine parts
After replacing a part, you must conduct a thorough assessment and diagnosis to ensure everything is properly installed. Begin by checking the alignment of the new part. Misaligned components can lead to operational problems and reduce the lifespan of your excavator. Inspect the hydraulic cylinder for secure connections and ensure all bolts are tightened to the recommended torque.
Perform a visual inspection of critical areas:
Look for excessive wear, cracks, or damage on the bucket.
Check the hydraulic oil tank for leaks or low fluid levels.
Ensure the engine compartment is free from leaks or visible damage.
Verify that all gauges and controls function correctly.
Inspect the air filter for cleanliness and restrictions.
These steps help you confirm that the part is installed securely and ready for operation.
Test the Excavator’s Performance
Running the machine to identify any issues with the replaced part
Testing the excavator after a repair ensures the hydraulic system and other components work as expected. Start the engine and operate the machine under normal conditions. Observe its movement and listen for unusual noises.
Key performance indicators to monitor include:
Track tension and the condition of rollers and sprockets.
Smooth operation of the hydraulic system under load.
Responsiveness of steering and swinging mechanisms.
Functionality of lights, alarms, and safety devices.
Secure connections and proper operation of the bucket and attachments.
Testing helps you identify and address potential problems early, ensuring the excavator operates efficiently.
Perform Routine Maintenance
Lubricating moving parts and checking for leaks
Routine maintenance is essential to restore cylinder performance and keep your excavator in top condition. Lubricate all moving parts to reduce friction and wear. Regularly inspect the hydraulic cylinder seals for leaks and replace worn seals promptly.
Regular inspection of excavator hydraulic cylinders and other critical components
Cylinder maintenance involves several key tasks:
Inspect the cylinder rod for wear, pitting, or corrosion.
Check for oil leaks around seals and joints.
Ensure the cylinder is properly aligned to prevent uneven wear.
Monitor hydraulic fluid levels and quality.
Clean the rod with non-abrasive agents to remove debris.
By performing these tasks, you enhance reliability, improve performance, and extend the lifespan of your excavator. Routine maintenance also ensures compliance with warranty requirements and preserves the machine’s resale value.
Replacing john deere 50d excavator parts becomes manageable when you follow the right steps. Always prioritize safety by wearing protective gear and inspecting your machine daily. Use genuine parts to maintain performance and avoid unauthorized modifications that could compromise reliability. YNF Machinery provides high-quality john deere 50d excavator parts, ensuring compatibility and durability. Their expert support helps you select the right components for your needs.
Follow this guide to complete replacements efficiently and safely. For complex repairs or additional assistance, consult professionals or reach out to YNF Machinery. Keeping your excavator in top condition ensures long-term productivity and reliability.
FAQ
What are the common signs of engine problems in a John Deere 50D excavator?
You may notice reduced power, unusual noises, or excessive smoke. These signs often indicate issues like clogged filters, worn-out components, or overheating. Addressing these problems early prevents further damage to the engine.
How can you maintain the engine of your John Deere 50D excavator?
Regularly check oil levels, replace air filters, and inspect coolant levels. Clean the engine compartment to remove debris. Routine maintenance ensures optimal performance and reduces the risk of engine problems.
Can you use aftermarket parts for the engine?
Yes, but ensure they meet OEM standards. YNF Machinery offers high-quality aftermarket parts compatible with your excavator’s engine. Using reliable parts maintains performance and prevents engine problems.
How do you troubleshoot hydraulic system issues related to the engine?
Inspect the hydraulic pump and connections for leaks. Check the engine’s power output to ensure it meets hydraulic system requirements. Addressing these issues promptly avoids system failures.
What should you do if the engine overheats?
Turn off the excavator immediately. Check the coolant level and radiator for blockages. Clean or replace components as needed. Overheating can cause severe engine problems if not resolved quickly.
